MySimpleShow.com – A Review
Howdy IT Babblers – I’m back with another review. This one is of http://www.mysimpleshow.com. It is a website that lets you make a presentation explaining something. Now, please don’t go confusing this with a way to make tutorial videos. This is more for about explaining concepts, ideas and other topics. Not a site to show you how to do something.
Signing up
There is a free version here but it is pretty basic. If you want a more robust version subscriptions start at $5.99 a month. There is an educational option and that’s what I’ll be exploring. To find this option click on Pricing (at the very top).

Then scroll down a little bit until you see the Fun Business and Educational icons. Click on the Educational one.

Then slick on Select Classroom.
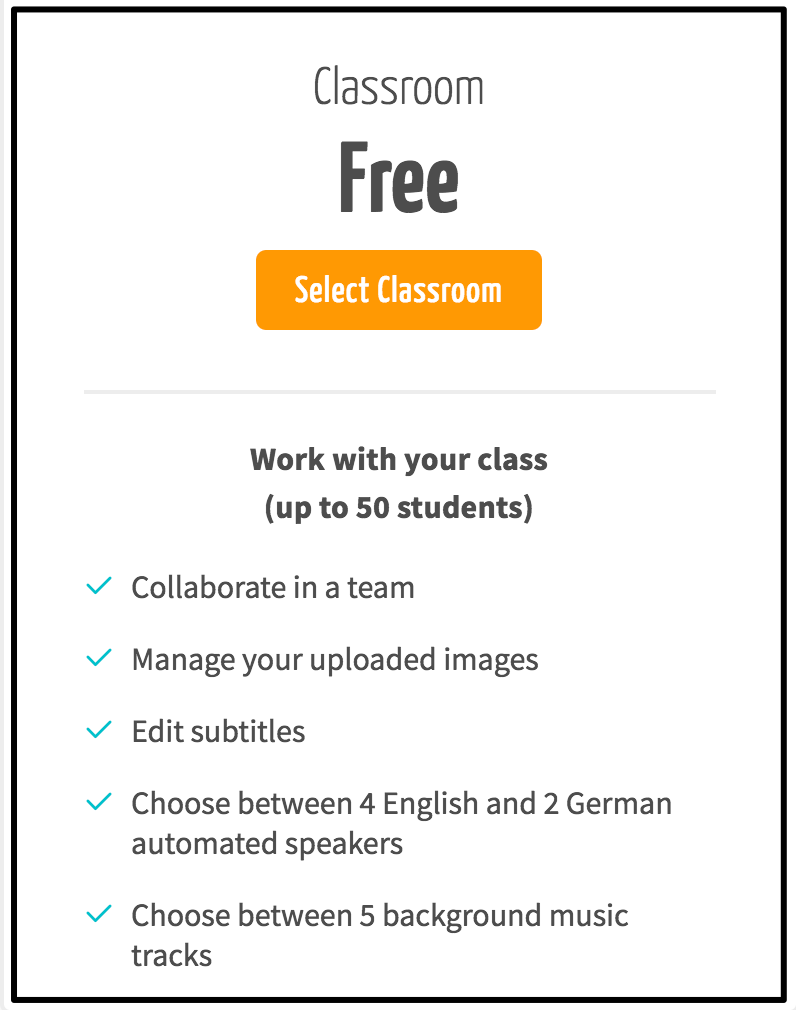
You can create a classroom with up to 50 students in it. We will see what this means or looks like. You can sign up with your Google, Facebook account or a personal email if you would like. I hope it is not another Learning Management System (LMS) but we will see. At this point, I am no further along using this site than you are 
When you sign up for the Educational version they want some information and make you agree that you are indeed a part of an educational institution. I can’t fault them for that. They ask for my school website – just an FYI, I did need to include the http:// before the address.
Success – I’m in!
Creating my first video
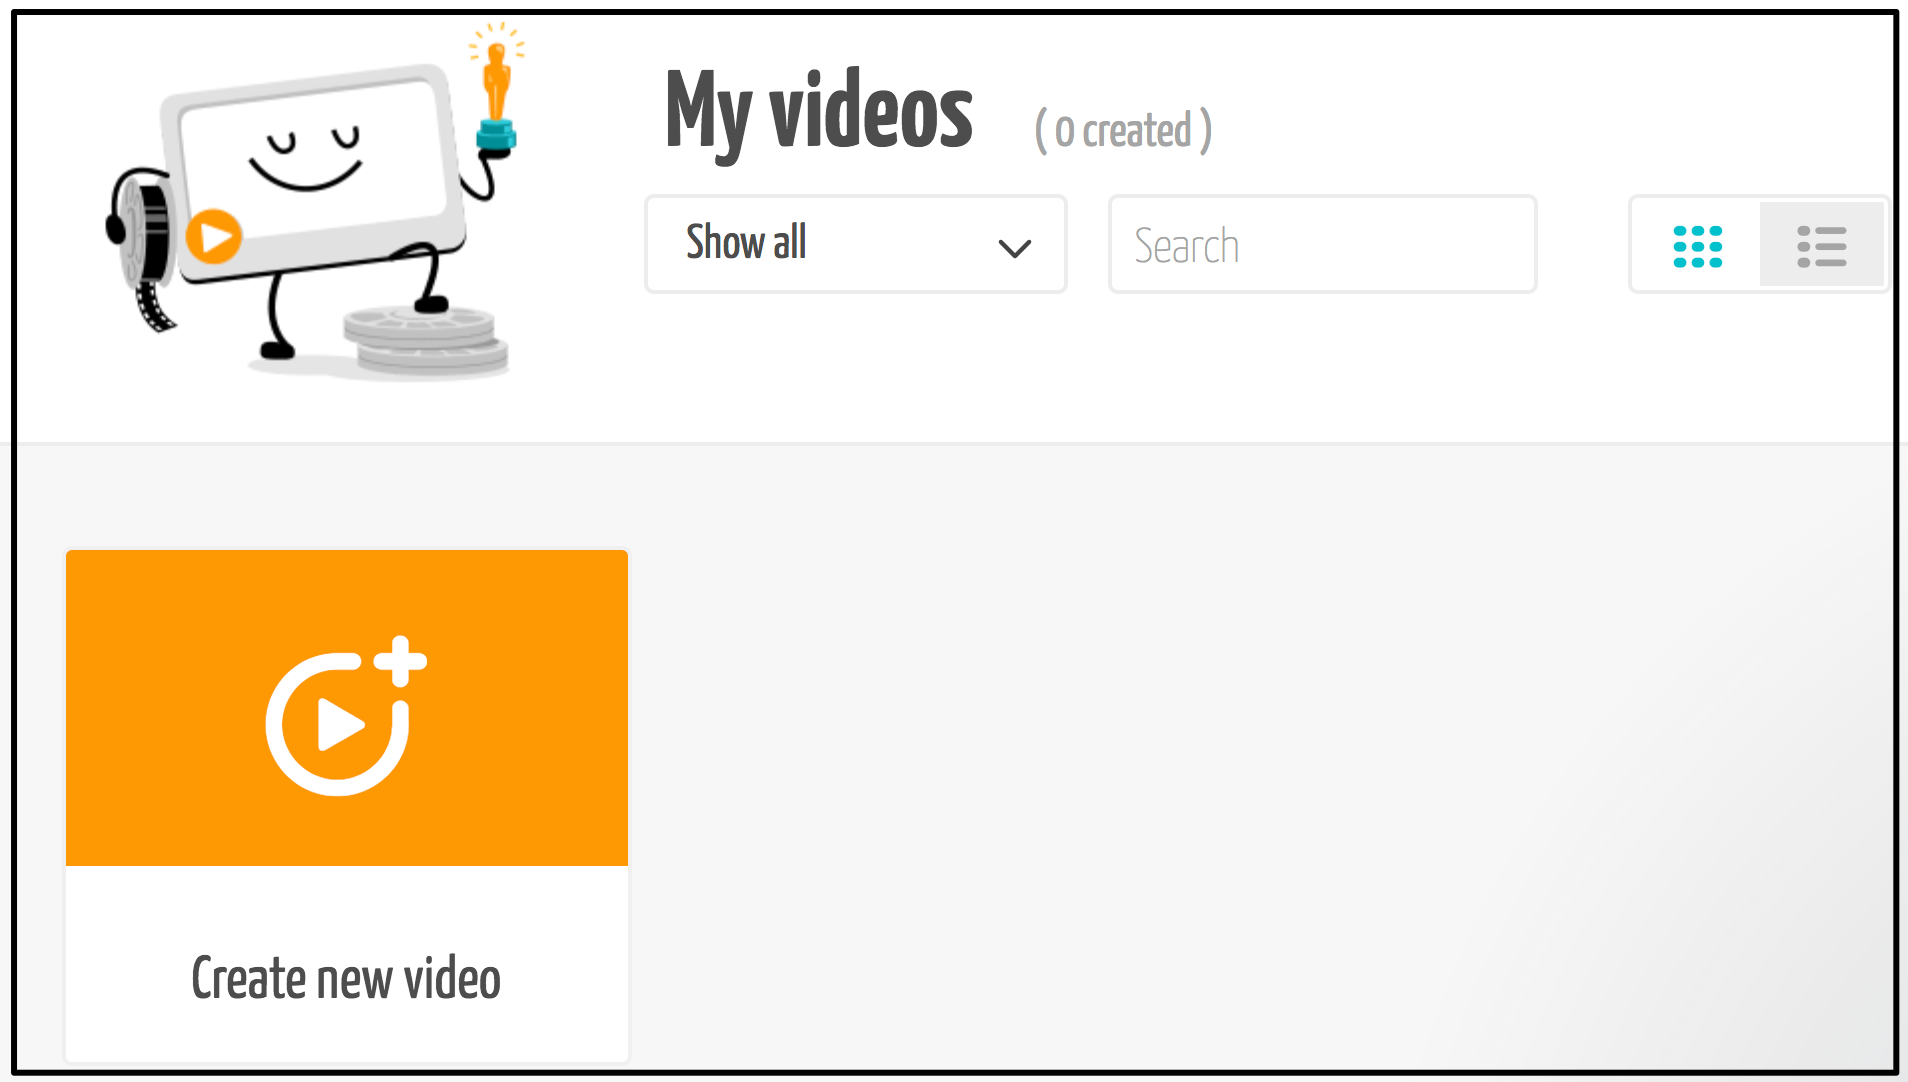
OK, here is the dashboard. Very simple and clean and I like that. There is no question about where I need to go to start my first project.
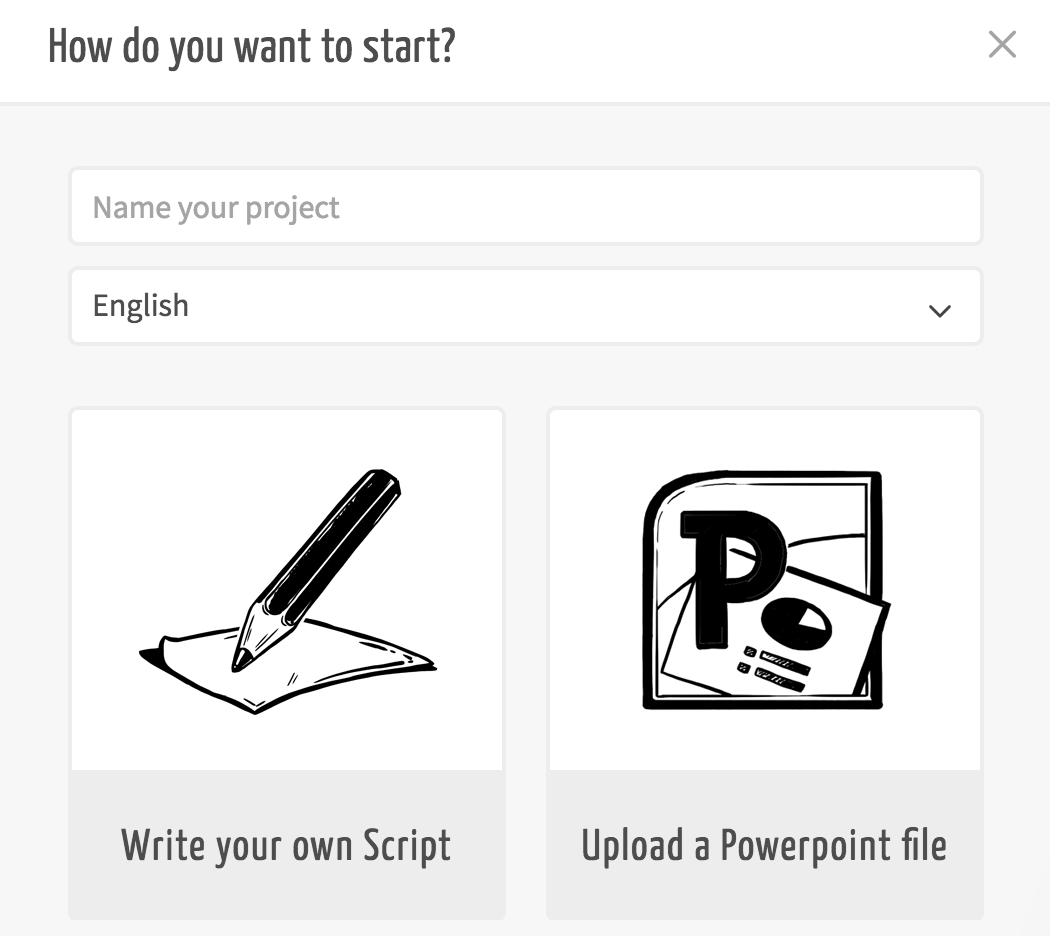
When I start a new project it wants to know a few things. What is the name of the project (that’s a good idea), what language will the project be based in (you can chose between English and German) and if I want to “Write your own Script” or upload a PowerPoint file. That’s good to know that teachers who have created a number of PowerPoints have the ability to repurpose these creations. For this review I’m going in fresh. I’m going to to write my own script.
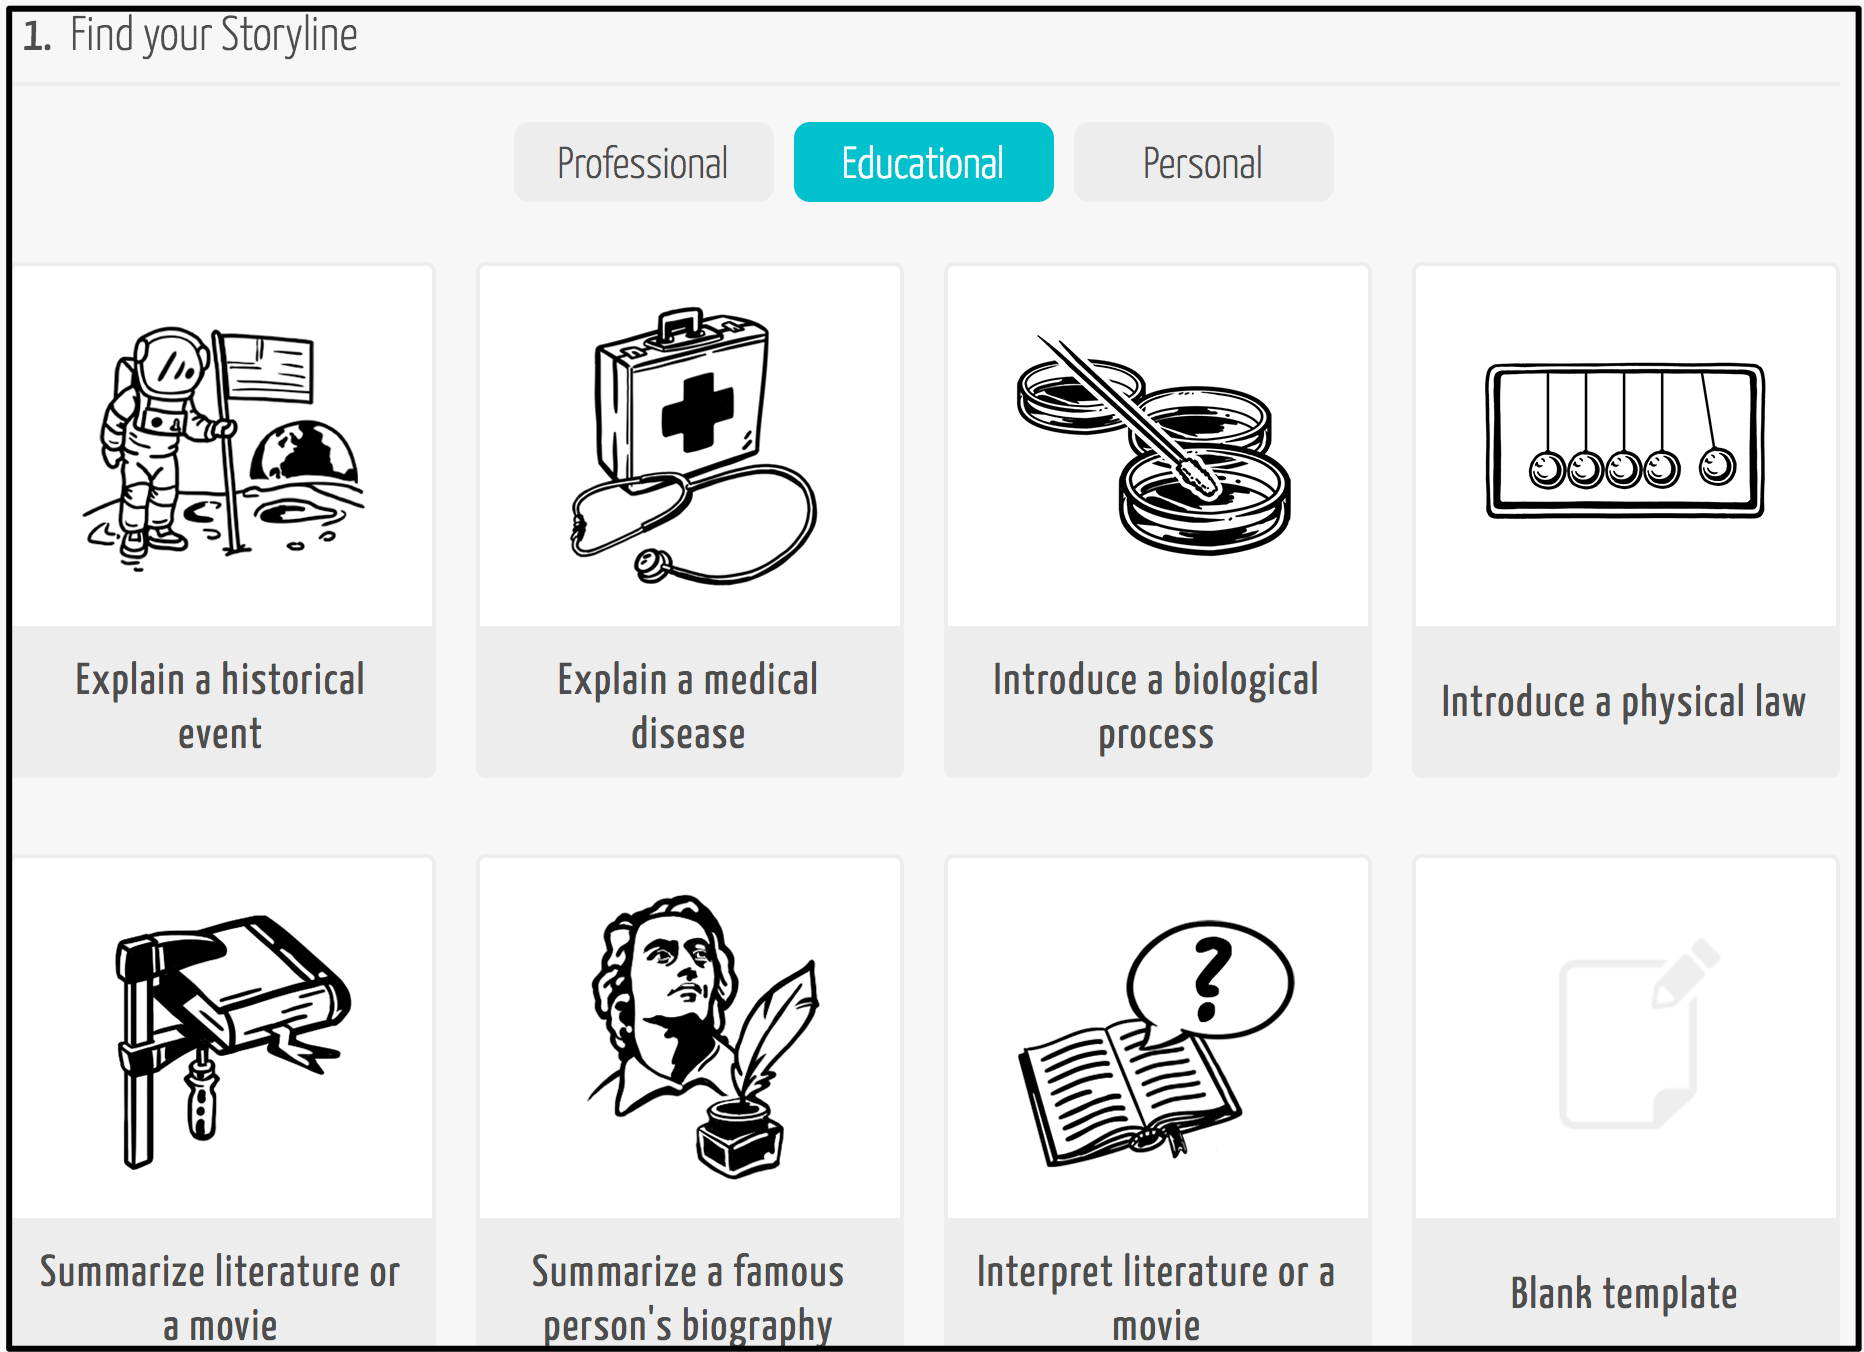
On your first show a little tutorial video will show you how to do the basics. It’s short and helpful and you can say not to show it again. Anyway, when you get past that you are brought to a template page! There are three categories of templates you can chose from:
– Professional (You must upgrade your account to access these)
– 14 Educational templates (plus a blank template)
– 6 Personal templates (again a blank template as well)
OK, I will chose the pro & contra of a thesis template. Here we go. Again, I am welcomed with another short tutorial video. Again, pretty helpful and I have the option to shut it off for the future.
After the video I get to see the drafting section. This is kind of neat. It is all laid out for me. Check out the image below.
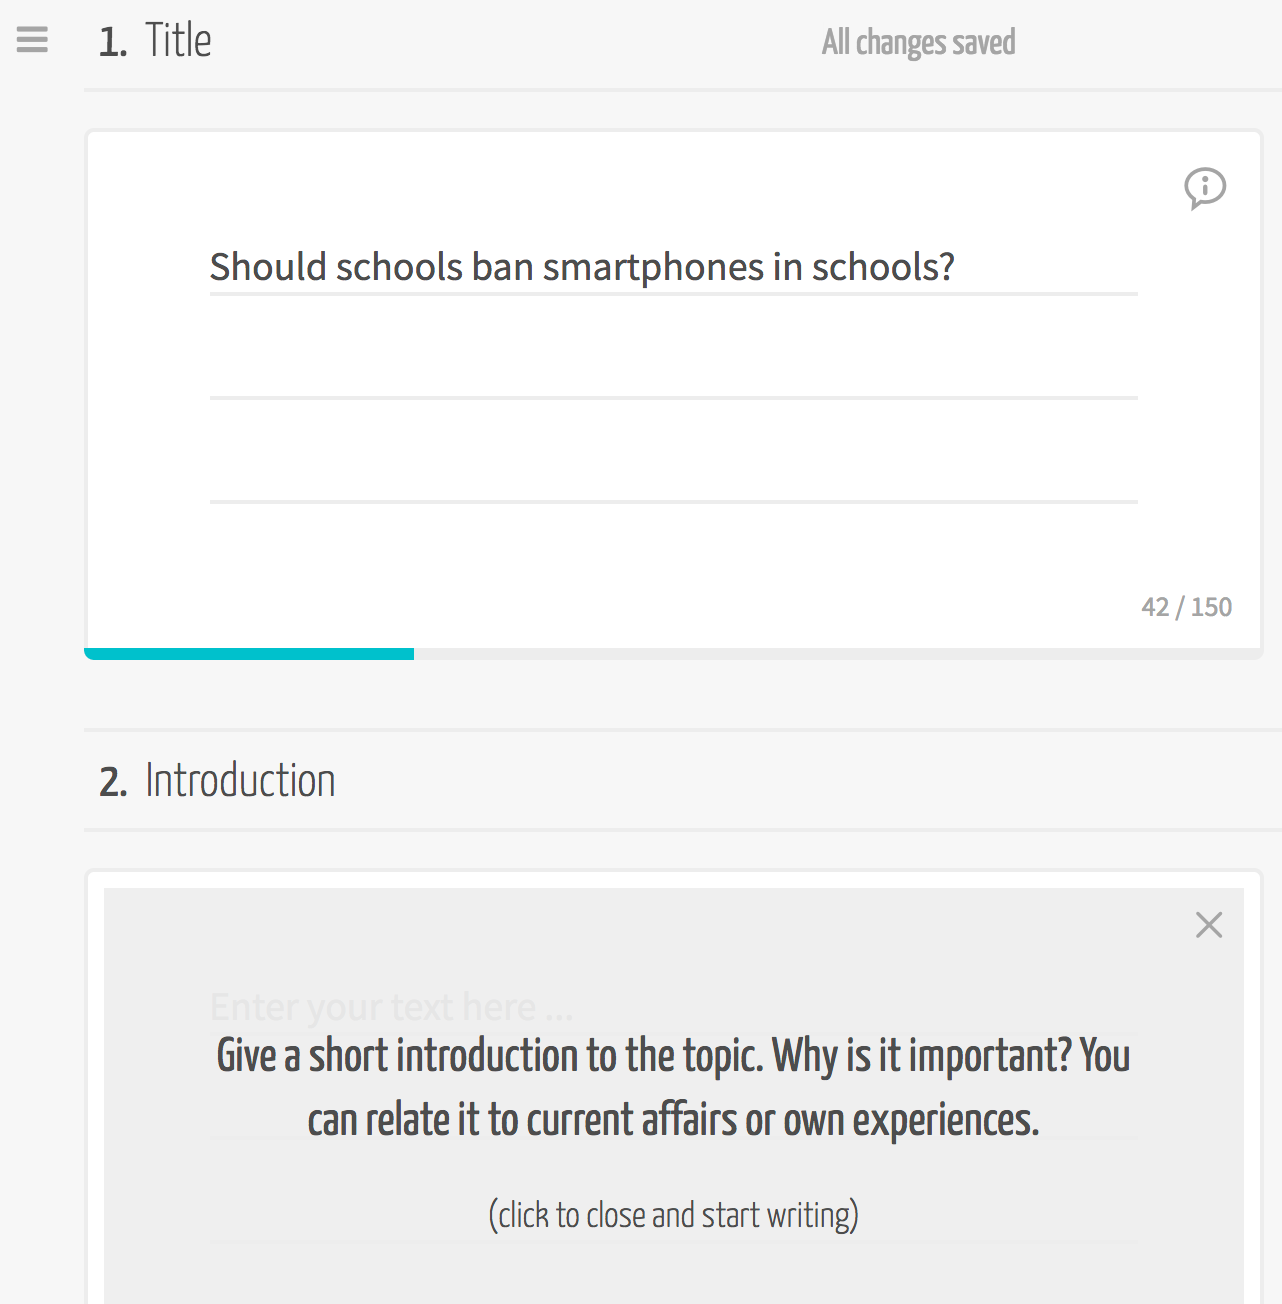 There are five sections in this part.
1. Title
2. Introduction
3. Your opponent’s arguments
4. Your arguments
5. Conclusion
OK – it forces your students (or you) to organize your thoughts. I like that this section is called Draft. Which implies that we will be revisiting these ideas to better refine them. Each section has to be succinct. There is a limit for each section so be aware of that. Some students (or yourself) may to be a bit brutal when writing.
Visualize
OK, now that I’ve written those different sections – it is time to work on the visuals. This is kind of neat and a little frustrating. Here we go. MySimpleShow will read what you have written and then try to pick out some images that you may want to use. Check out the image below.
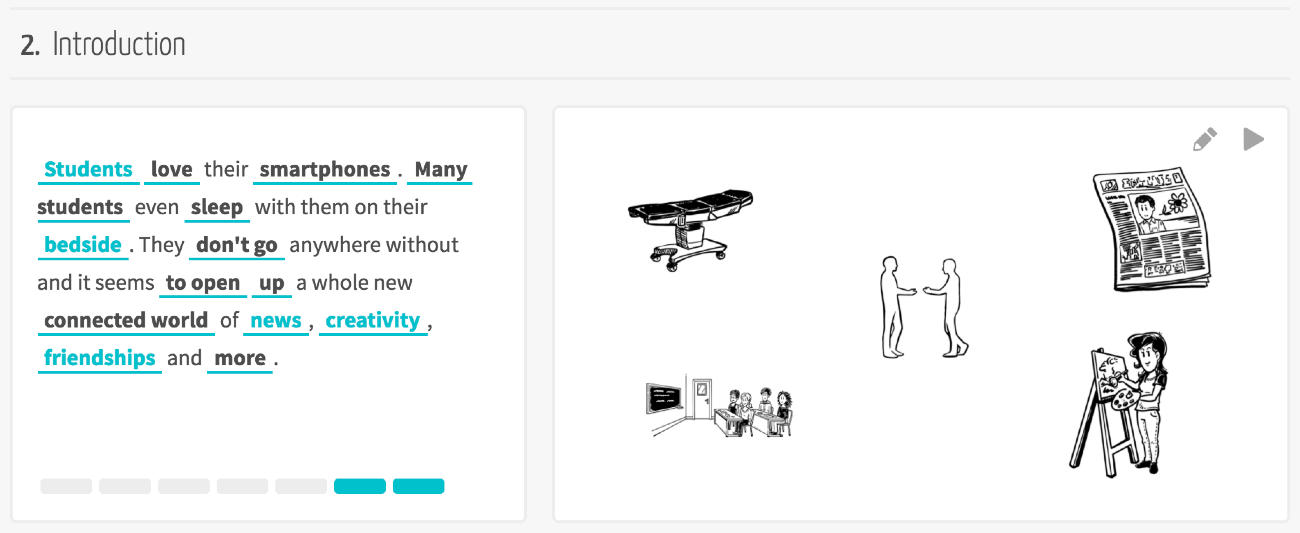
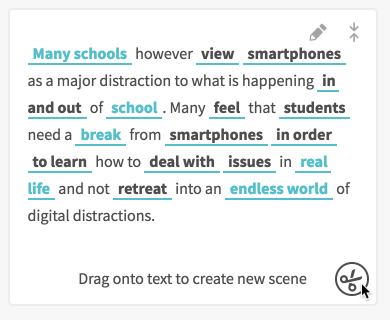
As you can see there are some words that are underlined and in blue. Those words have an image that you can use and it is already on the slide. Underlined words that are in black are words that MySimpleShow has images for but are not on the slide. The image order is based on how it is written. For example if I moved the sentence “Students love their smartphones.” to the very end, then the image for students would show up as the last image. So order matters – keep that in mind.
You can resize, reposition and slightly manipulate (or remove) the images on the right. You can see that the word bedside has an image and it looks like a hospital gurney. I don’t want that so I am going to remove it.
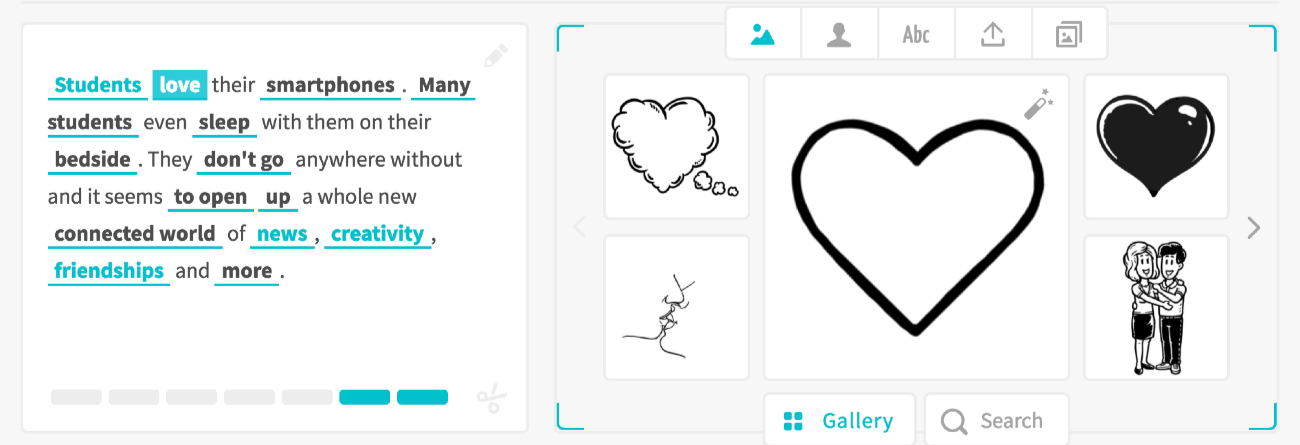
But I want to add a love image. So I go over to my text and click the word love. Then MySimpleShow brings up some images for me to chose from. Careful here there was a cartoon image of people having sex. It’s not graphic at all but it is very clear what is happening in the image.
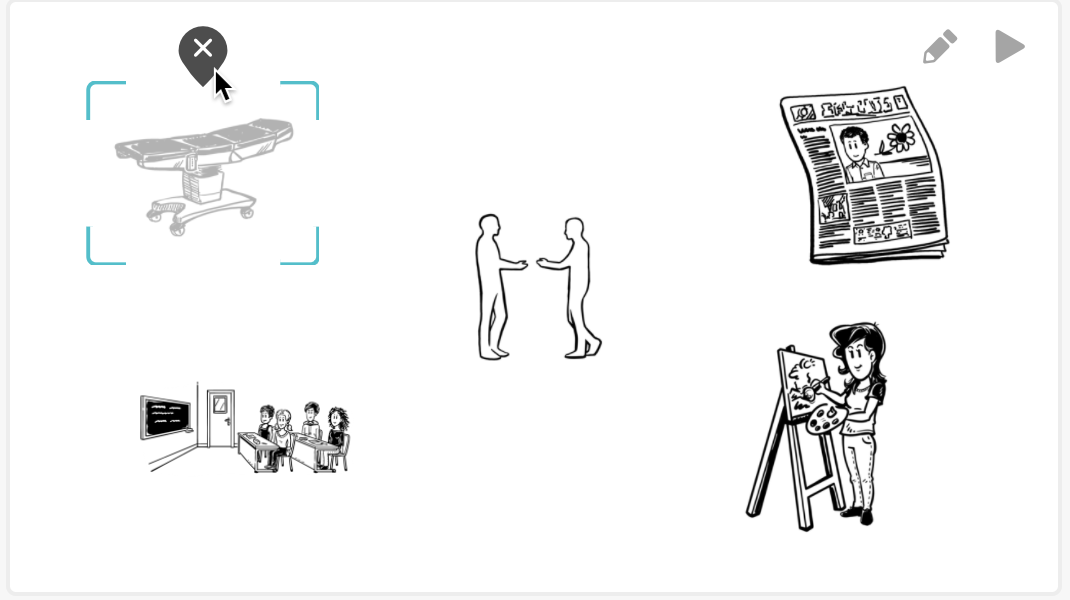
Now I want to arrange the images. Easy enough – go ahead and and click the slide with all the graphics and you’re in! From here you can easily move, resize, flip and frames, change or rotate. It is all pretty intuitive and not difficult at all to figure out. One thing I stumbled upon was that you can easily group images. Just drag one image on top of another and then click the other image and it’s grouped. Of course something this easy can easily be a hinderance as well. As I then wanted to resize the first image but I had to remember to click away from another image first or I would accidentally group them and then resize or reposition both images. This isn’t horrible by any stretch and I give them props for adding grouping.
Some guidelines may have been nice, so you know if it is centered or not or if other similarly sized images are aligned to one another.
Now that I have my images the way I want, I can go ahead and preview the animation (the GIF below is not the proper speed from the site).

There are some other options. You can add text instead of an image. Just click the image then click the Abc button. Right next to that you should see that you can upload your own photo, and the image next to that shows you all the past images you have used. Pretty handy.
If what you have written is just too long for a single slide you have the option to split it up into two slides. Just click the scissors icon in the bottom corner of the text box and you can drag what you want to make into a new slide.
You also can merge slides together. Just click on the Merge icon near the top of the text box.
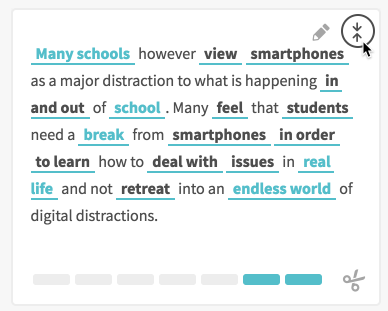
You may notice the little blue blocks at the bottom of the text box. That is to let you know how many more images that slide can hold. There is a limit to 7 images per slide. I guess it’s pretty good of helping keep the slides pretty orderly and clean.
All in all this section is not too bad. One thing I think people will not like is when they are arranging and editing the images on the slide. They cannot see their text as a guide so when they are trying to figure out what image will appear when, they need to close out of that editor, take a look at their text and then re-enter the editor. A simple pad of paper will help someone keep track but it is a little annoying.
There was a little confusion with how to change the image as opposed to how to manipulate (resize, reposition, etc.) the image. To change the image you cannot be editing the slide and then click the image. To manipulate the image you need to edit the slide and then manipulate. Again, with practice this is easily overcome but I would like the option to do both in the same working environment.
There is no closing frame (that is a paid upgrade).
So I’m going to go ahead and finish up these visuals before I move onto the final section.
Finalize
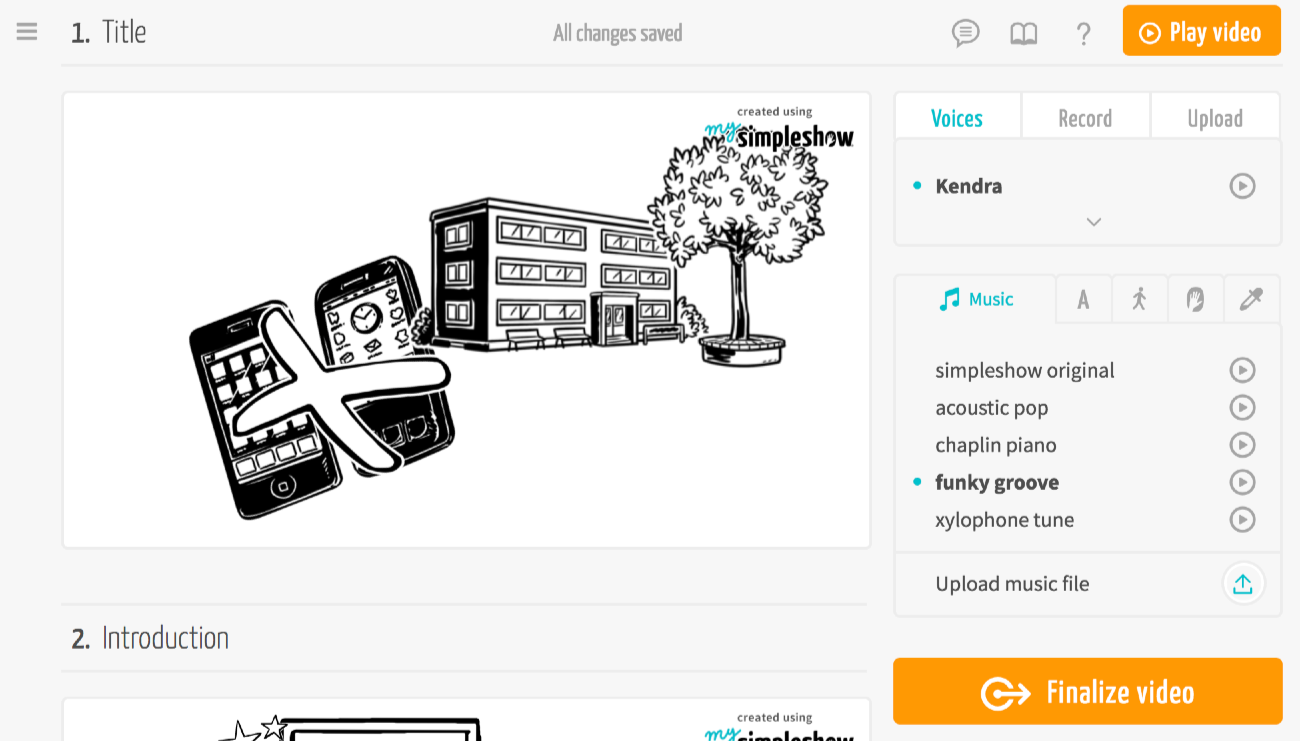
Now this is mostly about audio. You can pick a voice, music, record your own voice or upload your own audio file. In this area on the right hand side you will see all your options and on the left hand side you can see all your slides.
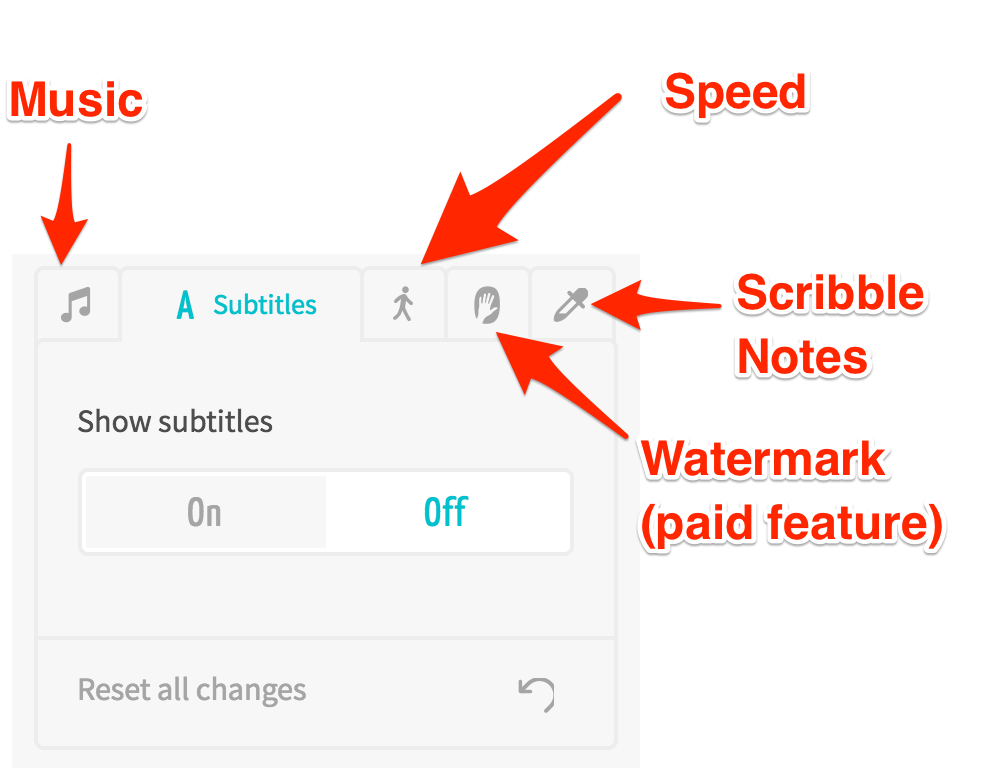
As you can see you can there are quite a few options. The Scribble color is what color you want the “images” to be. I changed it from black to a dark green.
Then when you’re ready hit that Finalize video button and it will open up a screen giving you some options. The free version makes every video in standard definition (that is less than 720p and honestly looks fine on most screens) and public. As you can see there are options for HD video and making the video private (or only accessible with the link) but you must upgrade for those features.

So it puts your video in a queue and it will email you when it is done and ready to be viewed! If you have ever rendered a video on your computer than you know that it takes some time and it really pushes your computer as well, so this takes a little time. It took my video about 2–3 minutes to be rendered. One thing that is neat about this page is that it does show you when it was rendered and you get some easy ways to view it and share it.
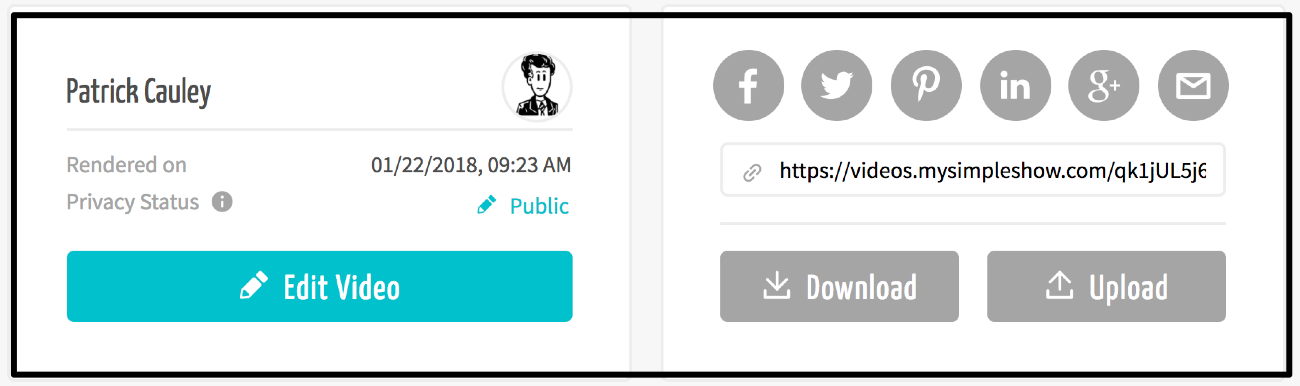
One noticeable omission here is YouTube. They definitely have left it out on purpose but that makes sense. They want people to view these videos on their website not someplace else. The option to download it is very nice and usually you see this as a paid feature elsewhere.
When you view the page on MySimpleShow.com this is how it looks. It is nice because it is easy to jump from one section to another and the transcript is a really nice touch. Click the image below to go to the page yourself.
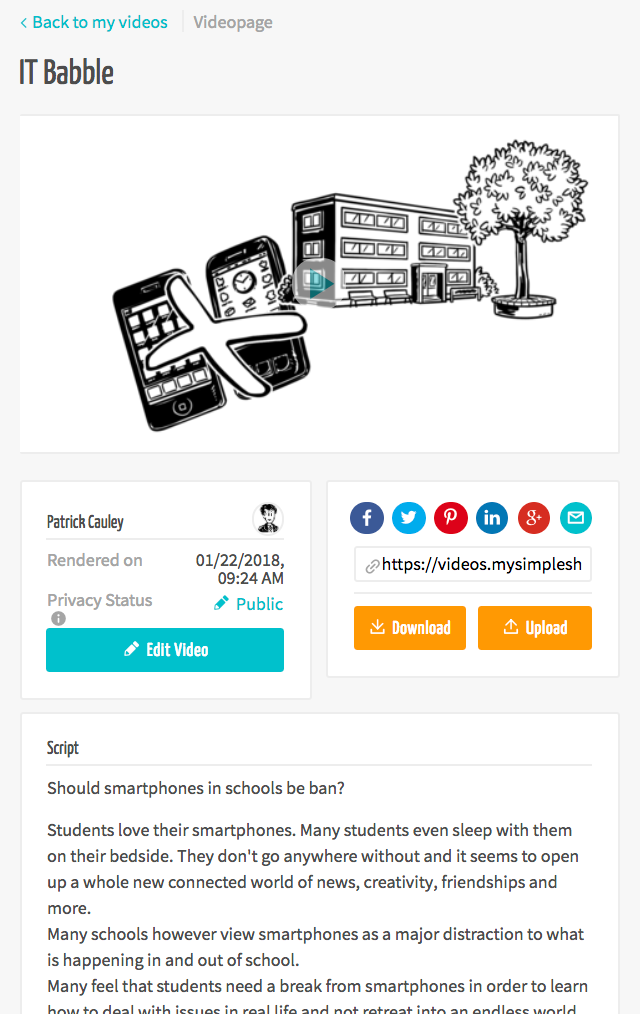
I wish I could get the embed code but I believe that is a paid feature so I’ll just download and upload it to YouTube.
Conclusion
MySimpleShow is fine. If you want to use this in your class go for it, but use it sparingly. I think the novelty of mystery hands moving images on a slide with music playing in the background will wear out quickly with students of all ages. If this is used too much I can hear students groan when a teacher pulls one up.
If you want your students to make their own project on MySimpleShow be prepared to see lots of hands and listening to lots of robotic voices.
I would recommend students and teachers record their own voice but here is the issue with that. One, if you use the mic on your computer it will sound bad. It will. It will work but the sound will not be crisp and unless the person is really close to the mic (I;m talking a few inches here) then the quality will not be great.
You can record and then upload it yourself, but that is another step and takes even more time, but if you’re going for a very polished presentation this is your best bet.
I like the idea behind MySimpleShow but I am not thrilled with the product it produces. I do like the process though though. Especially the writing process. It really forces the user to think out what they want to say and how to say it in a brief fashion.
There are ways to make it different such as uploading all your own images, recording your voice with a proper mic, but if you’re going to go through all that trouble, then why not use Prezi, PowToons or another presentation software?
Should you use it in your classroom? Yes, but use it rarely so your audience (or yourself) doesn’t get bored.
Source: IT Babble Blog and Podcast