Linking Google Slides
I had teacher walk into the IT office with a good question. She wanted to make a slideshow about a topic and have each student in her room create one slide to add to the slideshow. Here is what you need to know.
- She is using Google Slides
- This is 4th Grade
- She didn’t want students modifying or messing around with other slides
- 4th grades don’t always make “wise” choices
OK – now you are caught up and messing around here is what we stumbled upon. I don’t think this is a new feature but it was one that I was not aware of. Before we get to the solution here is what first sprung into our minds.
One Slideshow
She would have one slideshow on her Google account and she would share it with one or two at a time and then once their slide was done, she would take away their permissions and assign new students. Or she could just let them work on a computer that is signed into her account under her supervision as they directly added it with no sharing at all.
Obviously this is extremely cumbersome and not very manageable unless you were dealing with 4–6 students, so this would not work
Loads of slideshows and some manual labor
Each student would make their own and then they would share it with her. She would then cue up a bunch of different slide shows to show or she would re-create the slides on her own slideshow.
Again, lots of work and not very practical. I can hear you, the good reader, screaming at the screen now about copy and pasting.
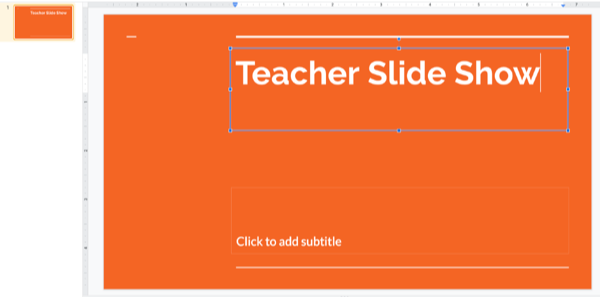
The best solution
So the teacher make one slideshow to rule them all. Then each student makes their own and shares it with her. She will then copy and paste the slide(s) necessary from the student slideshow to the teacher slideshow. So check out the overly simplistic screenshots below.
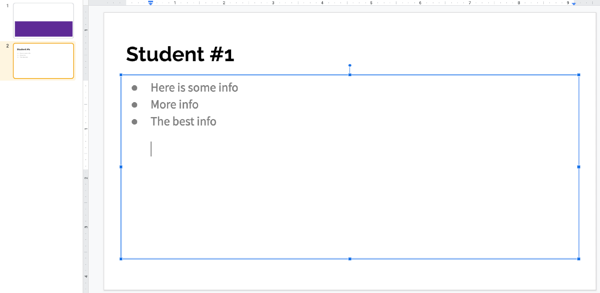
So, what our teacher needs to do is copy the slide from the thumbnail view. Click the thumbnail and then copy it (ctrl+c or cmd+c or right click and select copy). Then once it is copied go to the teacher slideshow and paste it in the thumbnail area. When you do this, you will see an option to link the slide or not to link the slide.
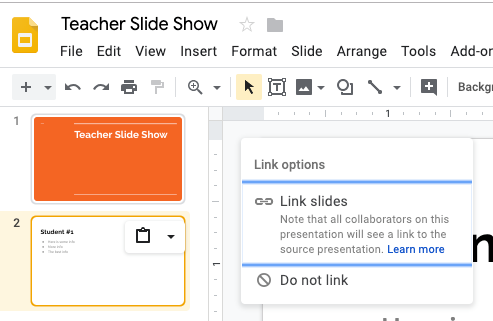
I went ahead and chose to link the slides. When I do this this little icon shows up on that particular slide on the teacher slideshow.
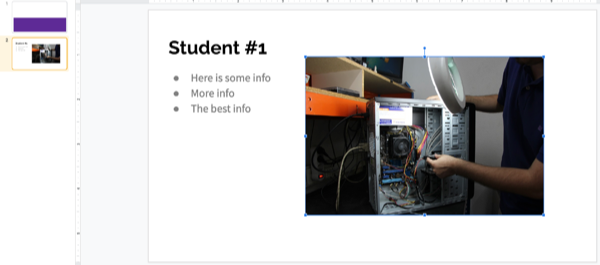
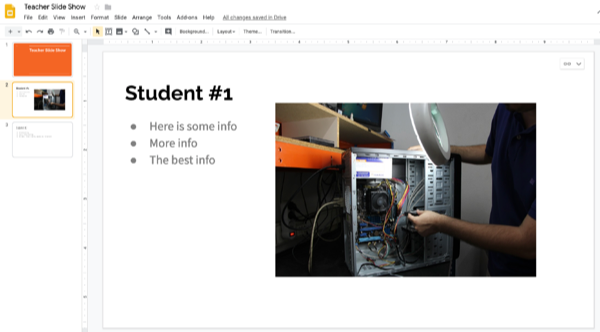
Now here is why this is cool. Let’s say Student #1 decides to add a little more info. Maybe a picture in this case.
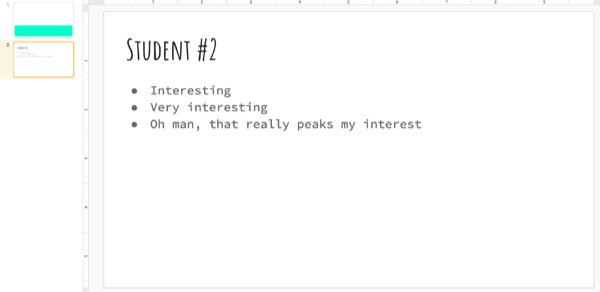
Now let’s check back with the teacher’s slideshow and see what has changed.
As you can see – very little has changed, but when you look at Student #1’s slide you will see that it says UPDATE near the top right hand corner.
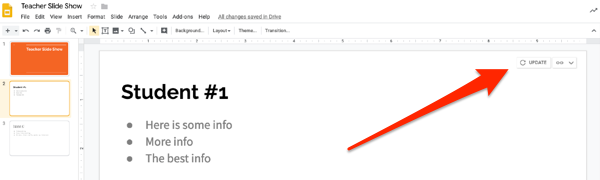
So when the teacher clicks it the slide will update with the latest changes. Very, very cool.
Now, let’s say a fourth grader shares this with their “best” friend who decides it would be hilarious to replace the computer picture with a funny picture and then the teacher hits update. All the teacher needs to do is hit Undo (ctrl+z or cmd+z or hit the Undo button) and the latest changes will be undone. Simple as that.
So, if you’re ever in this situation of making a single slideshow based and want the class to contribute then give this a go. It seems to work very well.
Source: IT Babble Blog and Podcast