Self Checkout with a Chromebook!

I know I’m not the first (not even close!) to do this but I figured it would be a good post anyway. We now have a self-checkout station in our library, so our students can check out books on their own. This post will show how we set it up and implemented it, which was easier than I originally thought it would be.
Hardware & Requirements
OK, let’s talk about what we used to make this happen.
Chromebook
We decided to use a Chromebook because it is pretty cheap, doesn’t take up a bunch of space and is portable. Also, it is very easy to manage.
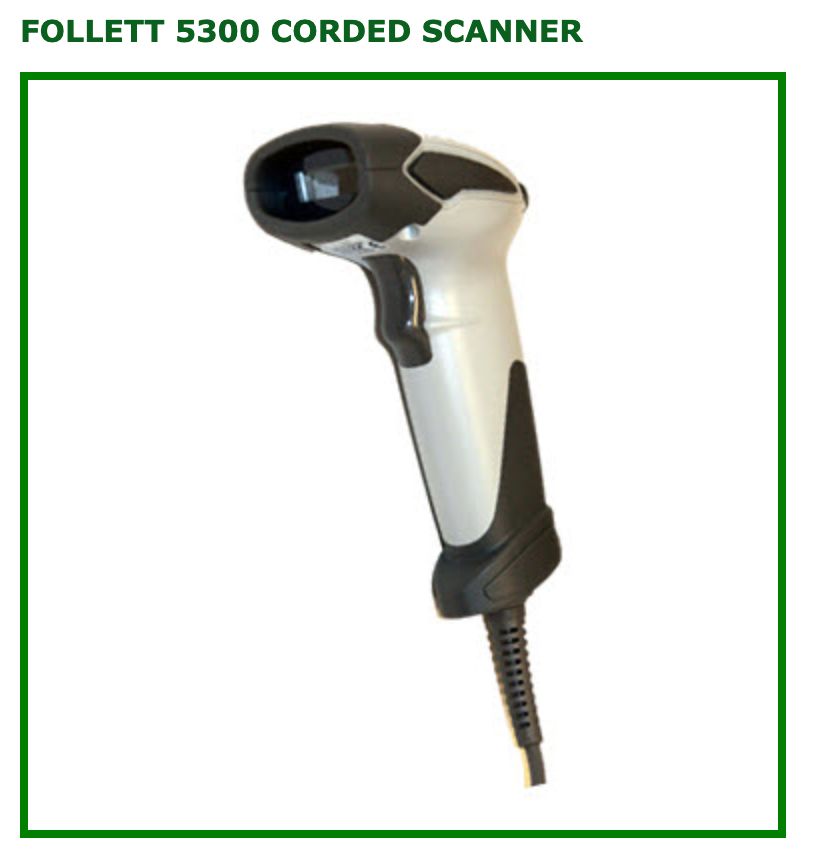
Barcode Scanner
We also gave the Chromebook its own scanner. This was a little more expensive than I thought and we made sure it had a base that it could sit in so students didn’t have to pick it up. Also, we want one that is a little heavy duty so it will last. Think of this as an investment. You can certainly find bar code scanners for much, much less but I firmly believe you get what you pay for here. This one in the picture is $150 USD.
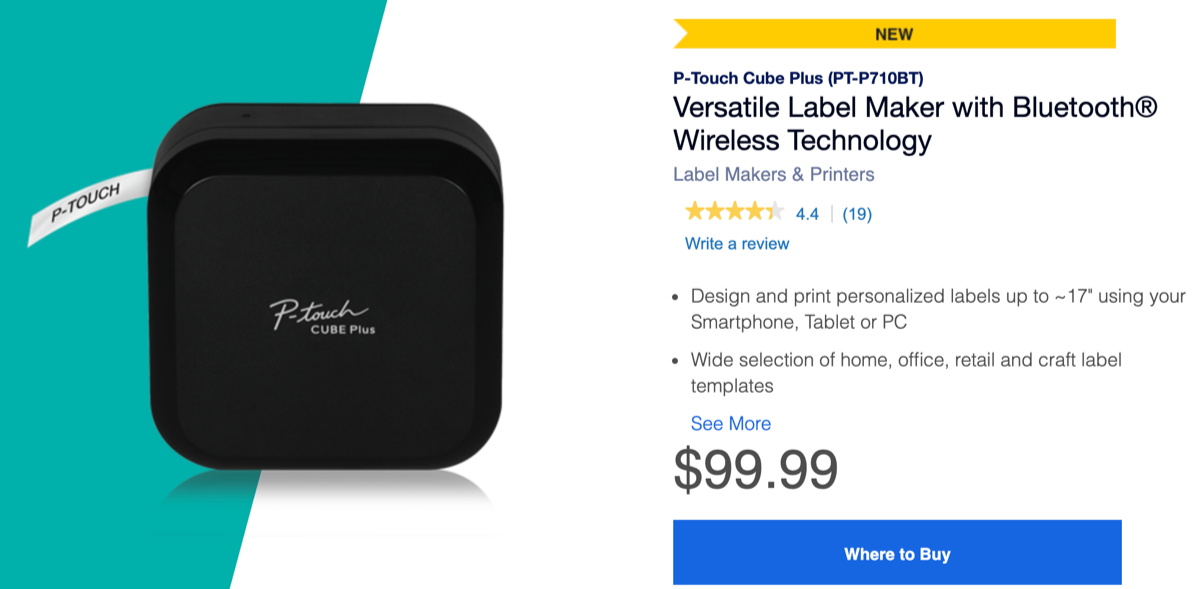
Labels
We also used a label printer to print off student barcodes. We used a Brother label maker with its P-Touch software. This software lets us point it to a spreadsheet so we can design a simple template with tags in it and then print merge out all the labels for a grade level or school in one go.
This is a newer model than what we use but the labels in the end should be the same.
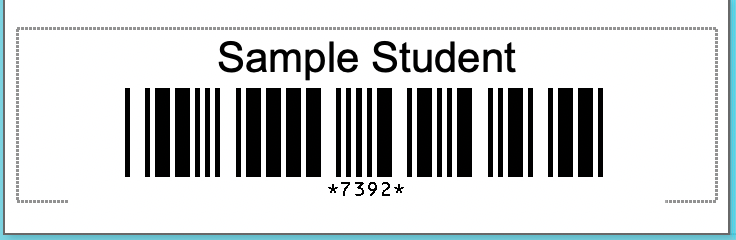
Here is a sample of what one of our student labels looks like.
Library Sticks
We use these are sticks to affix a label to that will have a student’s name and patron number as a barcode. We use some plastic heavier duty sticks instead of paint sticks thought paint sticks would probably work just as well. I do know these are more expensive than paint sticks but they’re already colorful, don’t break easily and won’t give any kids splinters.
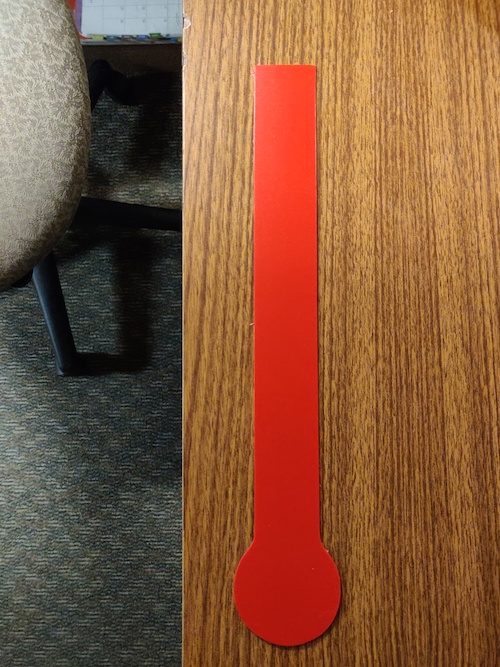
I’m not sure what ours are called but I’ll find out later and update the post with that info soon.
Destiny
So our library (like many others) uses Follett Destiny to manage our collection; however, I believe that if you used another database that this could still work for you providing that it is web based like Destiny is. Even if it is run locally on your own network – there may be a place for a local user to log in and checkout books through a web browser. If so, then you could possibly set this up provided you would be able to create or modify roles in that system.
Self-Checkout Access Levels and User
In order for this to work we had to create a user in Destiny that can “check out” books. What we don’t want though is for that user to be able to forgive fines, remove books from the collection and basically bring upon an apocalypse.
Lucky for us, Destiny has lots of options and I’ll show you how we made this user.
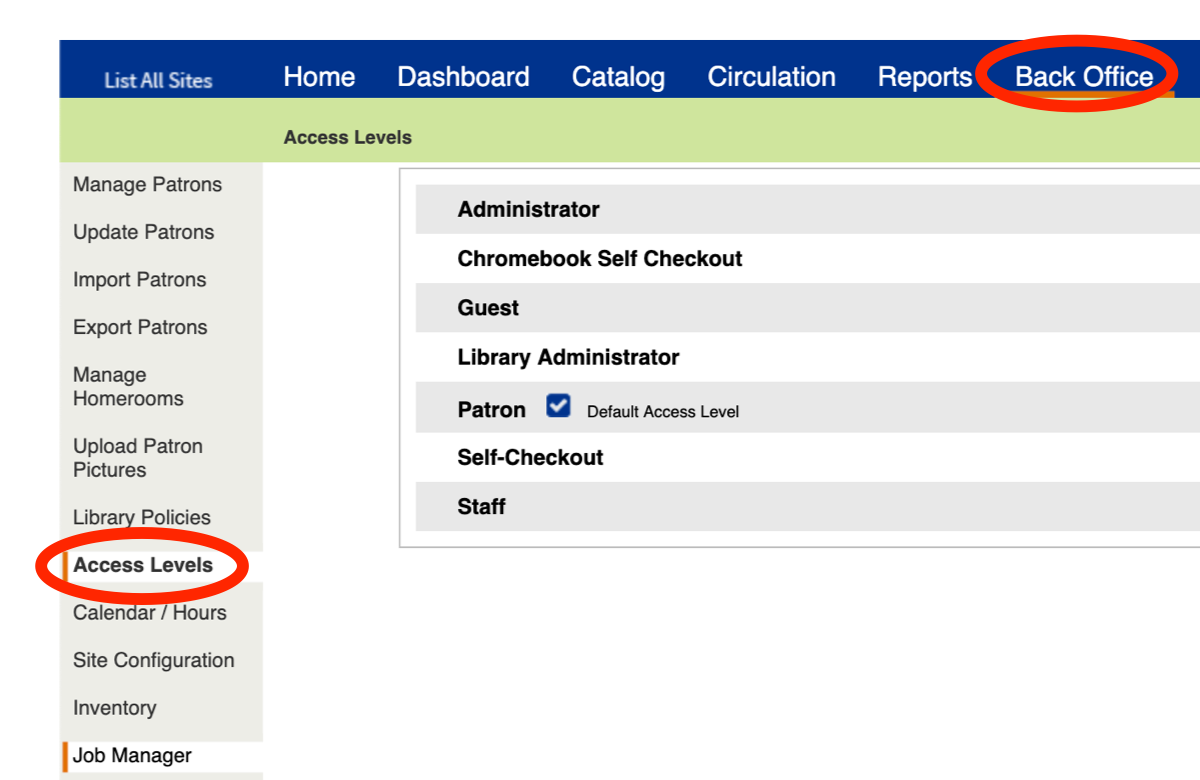
First, you need to log in as an administrator in Destiny. Then go to Back Office. From here select Access Levels. Here we can create the role and then we will create the user.
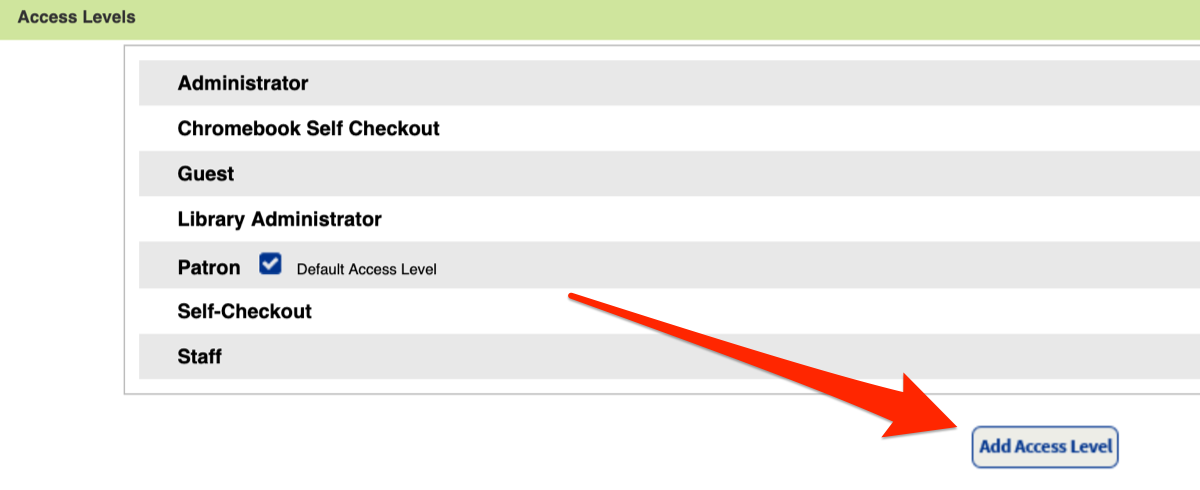
When you are at the Access Levels screen go ahead and click on Add Access Level.
From here make sure you do the following:
- Give it a memorable name
- Change the Automatic log out to 240 minutes (this is the max time before the system logs the user out)
- Change the Reset Circulation time to 120 seconds (or whatever you feel is appropriate)
- Make sure the Collection Role is Student
- Make sure the only access is Check out library materials
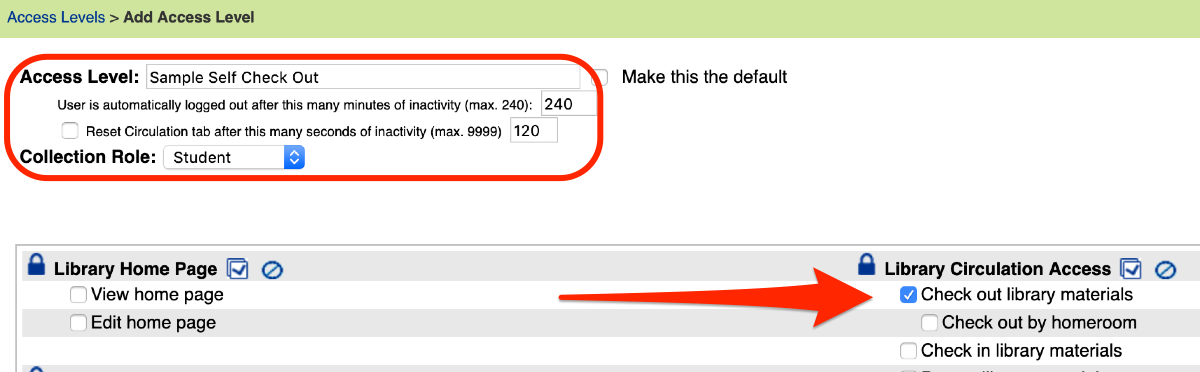
Then click Save.
Now we will stay on the Back Office page and but switch from Access Levels to Manage Patrons. Click on the Add New Patron button.
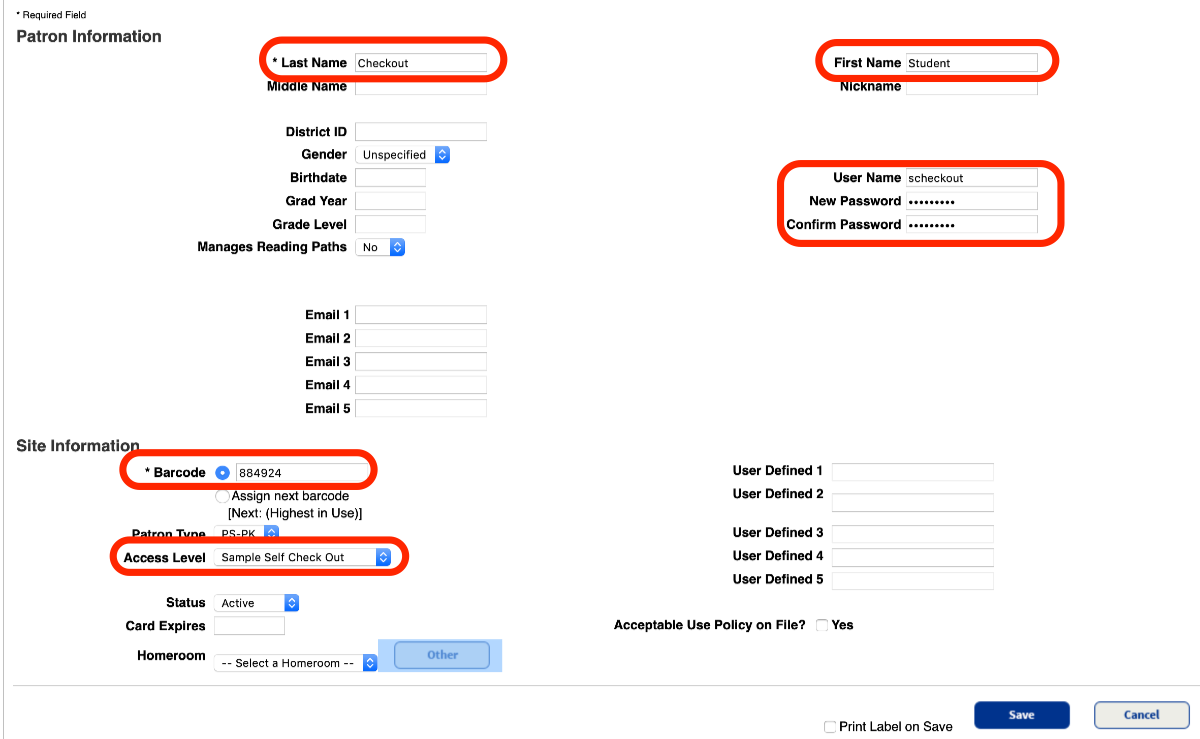
This will create a new patron or user. You need to fill in the information circled in the picture:
- Last name
- First name
- Username
- Password
- Barcode number
- Access Level (make sure you select the one you just made)
Putting it together
On the Chromebook, we navigated to Destiny and had the librarian log in as our Sample Student. You should see that there are no options to search, check in or do anything else on Destiny except checkout books – perfect!
Now that all the hardware, access level and user are in in place here is what it looks like. I apologize for the mess, this was taken on a Friday afternoon before Spring Break – so a lot of students had returned books.
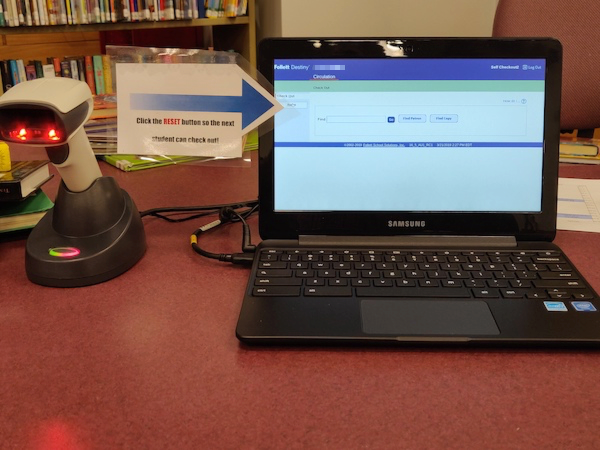
On Chrome, I zoomed into 150% so it is a little easier for anyone to see what has been checked out.
How it works
Here is how it all works together. A student has their library stick with their barcode printed on it. They pick out the book(s) they want and bring it to the self-checkout station. They scan their library stick which will bring up their account. Then they scan their books one at a time.
When they finish, they then use the trackpad on the Chromebook to click the Reset button. This resets the system and gets it ready for the next student to checkout.
If the system is inactive for 120 seconds it will automatically reset itself and after 240 minutes it will need to be re-logged in.
Details to know
We just set this up but have already had first graders use it and it went pretty well. If a student checks out too many books the system will require for an administrator to put in their username and password to accept it. If not, it will not check out that final book(s) they want.
Putting the self-checkout screen in full screen mode is also highly recommended. This will hide the address bar, bookmarks and any other tabs that may be open.
That reset button is the only real sticky point I can see. Signage is one time tutorial with the students is highly recommended but I figure after one (maybe two visits) students will be good to go. We tried it yesterday with first grade students and didn’t have too many problems!
There should be a librarian, teacher or aid nearby most times just in case.
Source: IT Babble Blog and Podcast