ChronoFlo timeline maker – Review

I have to admit I am a sucker for a good timeline maker. Way back in 2011 Omar Ghosn (the co-founder) and myself decided to review a bunch of timeline generators to find the best one (at the time). You can find all those articles here.
Sadly many of those are no longer (RIP Dipity and TimeGlider) but now there is a new contender:
This review will take a look at this new site and see if it is worth your time.
Signing up
This is pretty easy, but it will require you to create a username, give an email address and create a password. There is no SSO for Google Microsoft or other social media accounts. Once you give them that information it will take you to their dashboard

Dashboard
The dashboard is very straight forward. If you have any timelines, you can find them here. If you want to start a new timeline, again you’re in the right place.

You can also update your profile such as your password and email.
Pricing

Finally you get to the pricing. The free account will allow you to make a single fully functional timeline, but you cannot embed it into a website or upload your own videos or images. You can add photos that are already hosted someplace on the web and videos (YouTube, Vimeo) already hosted on the web.
I know this is a new company and maybe there are educational pricing but I couldn’t find any on the website. For $120 a year I would expect to be able to make more than 5 total timelines. The Silver account will run you $354 a year and a limit of only 25.
It just seems a little steep for students/schools/teachers right now.
Creating a Timeline
This is obviously why we’re all here. What can you do with this tool? To get started, name your timeline and pick a theme. There are only 8 themes to chose from but they all look nice. Here is what they offer:
- Standard timeline – The timeline is at the bottom of the page and all the events are above it.
- Split timeline – The timeline is in the middle of the page and the events are above and below it.
- Vertical timeline – The timeline goes up and down and they offer a standard and a split timeline.
- 3D timeline – The event cards and timeline are staged a little to make it appear 3-D.
- Snake timeline – The timeline looks like a snake instead of a straight line.
I picked the split time line theme and named it IT Babble Rocks.
Note, I didn’t see a way to rename a timeline or to change the theme. This can be changed!
When working on your Timeline here is the workspace.

Before we get to adding an event, let’s talk about this time scaler tool. Click the magnify glass and you can change the span of what you are viewing, increase or decrease the time (I’ll let you decide what that all means and more.

To see this in action check out my super cool GIF below.

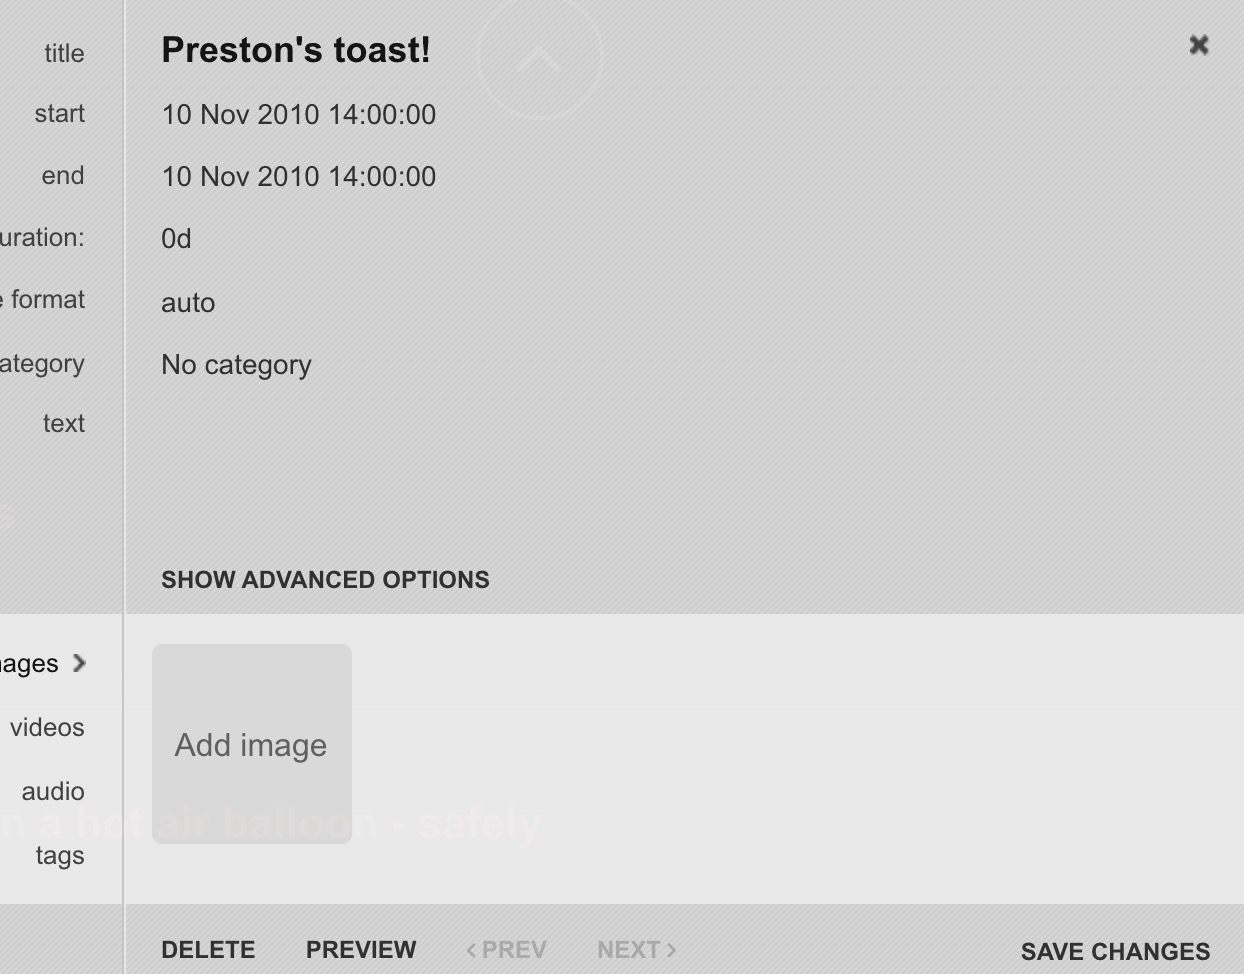
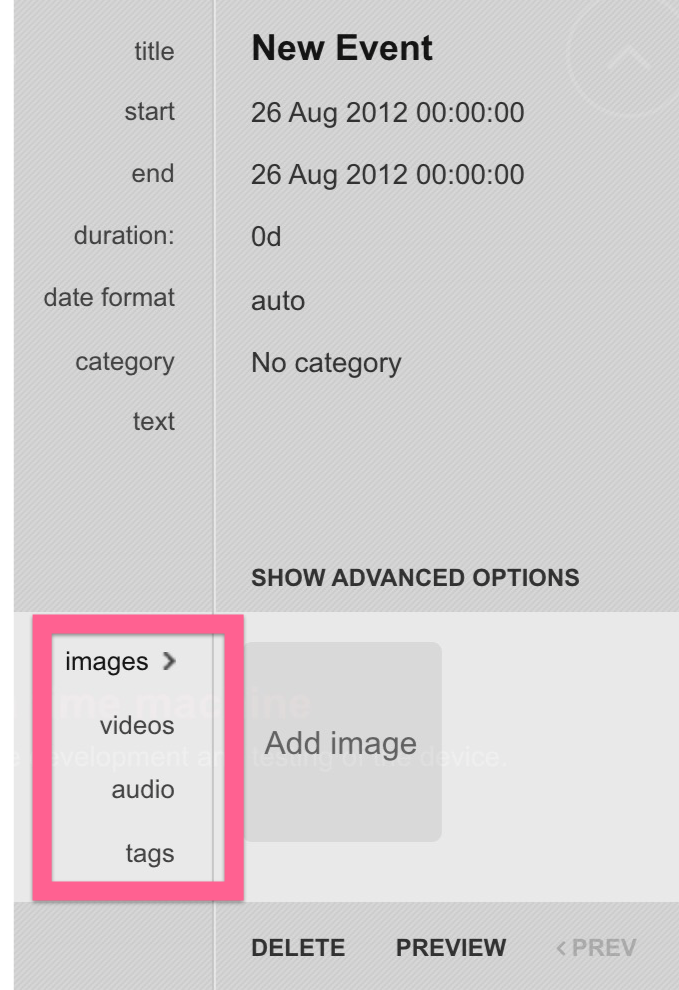
Adding an event is all pretty straightforward. Just click that + sign in the bottom left hand corner. From here you the even will appear on the timeline and a new side menu will slide out from the right hand side.

As you can see you can add the basic information such as the title of the event, a description of said event and date. Then there are some nice features below that. You have the ability to categorize the event. When people think category, they think of some text tag that is applied to that content.
Not in ChronoFlo folks!
You get a tremendous amount of customization. You can change the accent color, is above or below the timeline, they style of the card and more.

What this means is that when you add an event, just categorize it and ChronoFlo will go ahead and do all the formatting for you. AWESOME!
This is also a good lesson for students about presenting data and how to work smarter, not harder and to introduce them into CSS, it is a little similar.
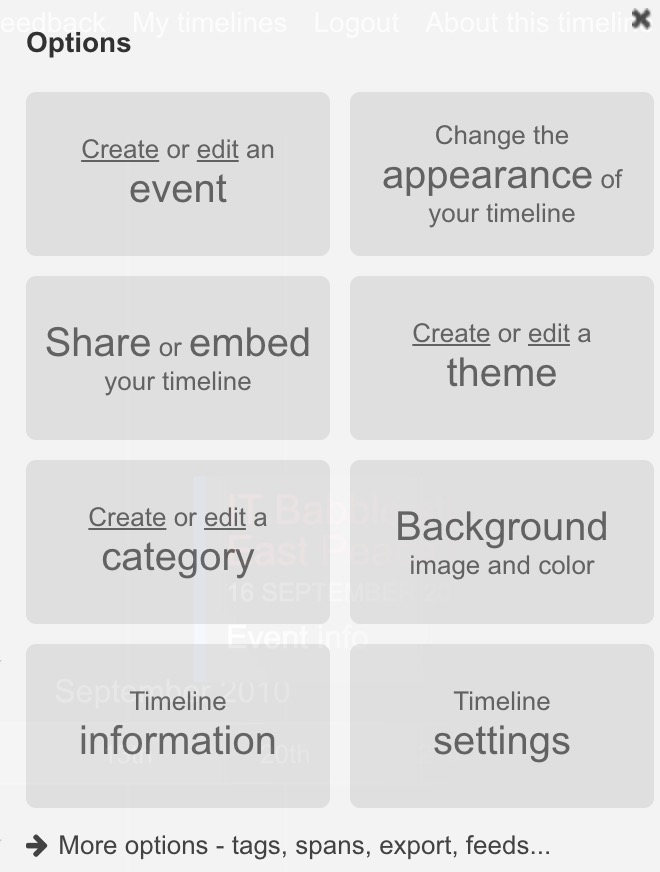
Another handy way to add an event is to use the Options menu that is always present on the right hand side of the timeline.
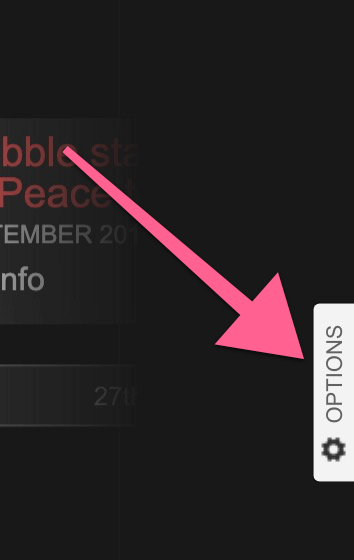
Not only can you create an event but you have tons of options here from the way the timeline looks to creating categories, changing the theme or your settings.
When adding a bunch of “historically accurate events” I thought an easier way to do it would be to change the view from Timeline to Pinboard (link Pinterest) or List view. You can find those options in the top menu just above the timeline.

Sadly there was no quick add button like in the Timeline, but wait not all hope is lost. You can be in this view and add an Event using the handy Option menu which is present no matter what view you switch to. This is what I did going forward.
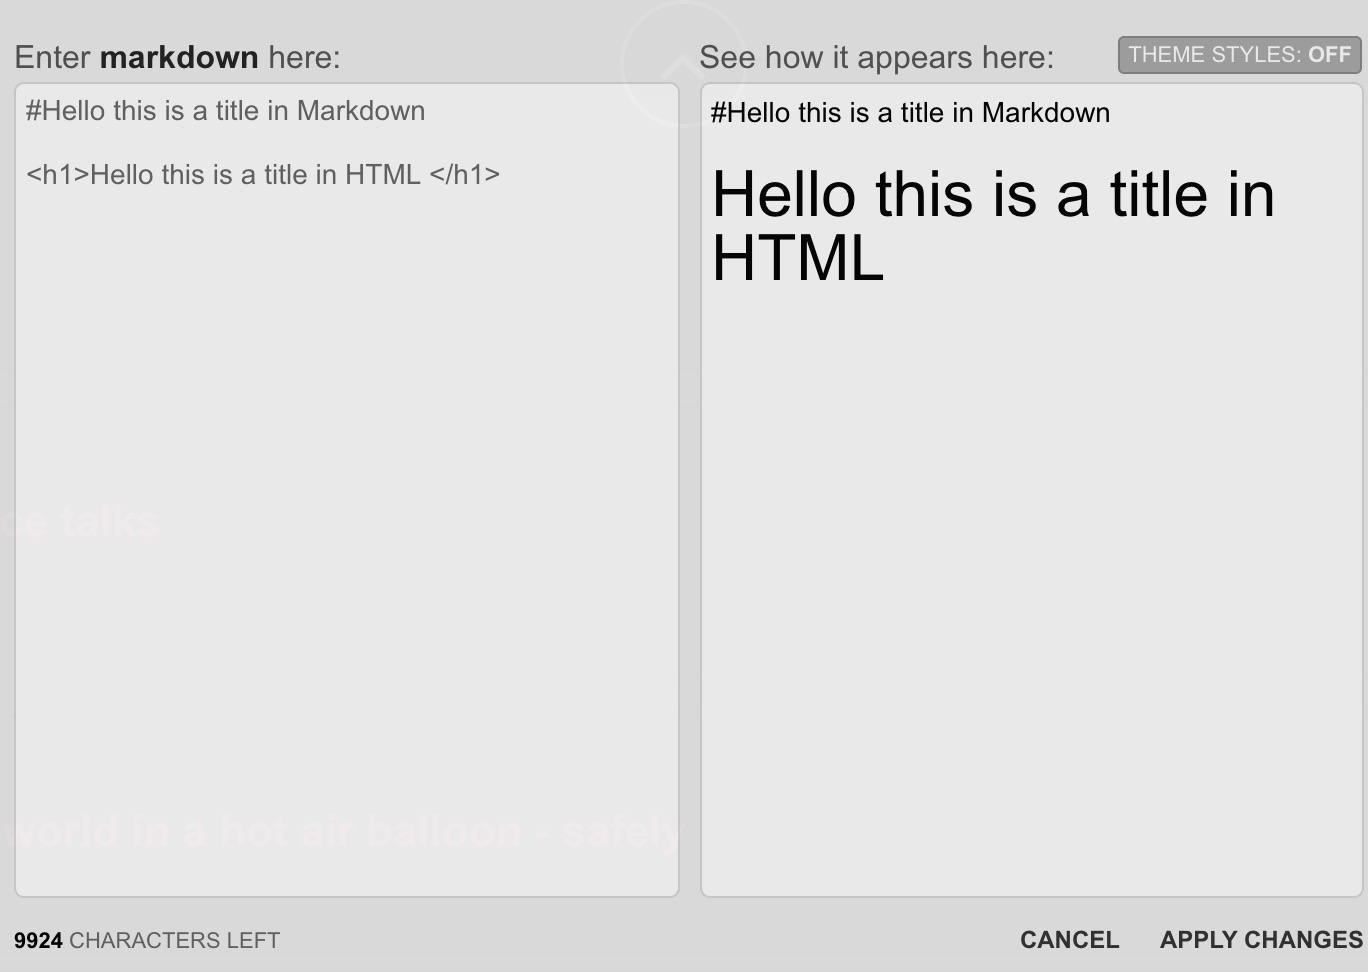
One thing that is nice but does require a little knowledge is the text area of an event. Here you can type in a description but you can do much more. You can use HTML (the language used to make websites) or Markdown. I couldn’t get the Markdown to work but I think it is something that is coming, but the HTML worked great!
When you click in the Text area you get this great editor. One side is where you can type your HTML or Markdown and the other side will show you what the output looks like. It is pretty wonderful!
What is a little weird here is that you need to have some regular paragraph text first before you add any stylized text. I’m sure it is just an oddity with the service and will probably be worked out.
Adding images and videos are pretty easy as well. When you create an event in the bottom half of the that window is an option to add those respective elements. Heck you can even add audio files.
For the free version, you have to host that media someplace. With videos it is pretty easy, YouTube, Vimeo, even TeacherTube will suffice. With images you can use services like Evernote, Cloud App and I’m sure there are more. That would probably work with audio files too.
When you click on that type of element you want to upload it will ask for a source. Just copy and paste that into the space and save it.
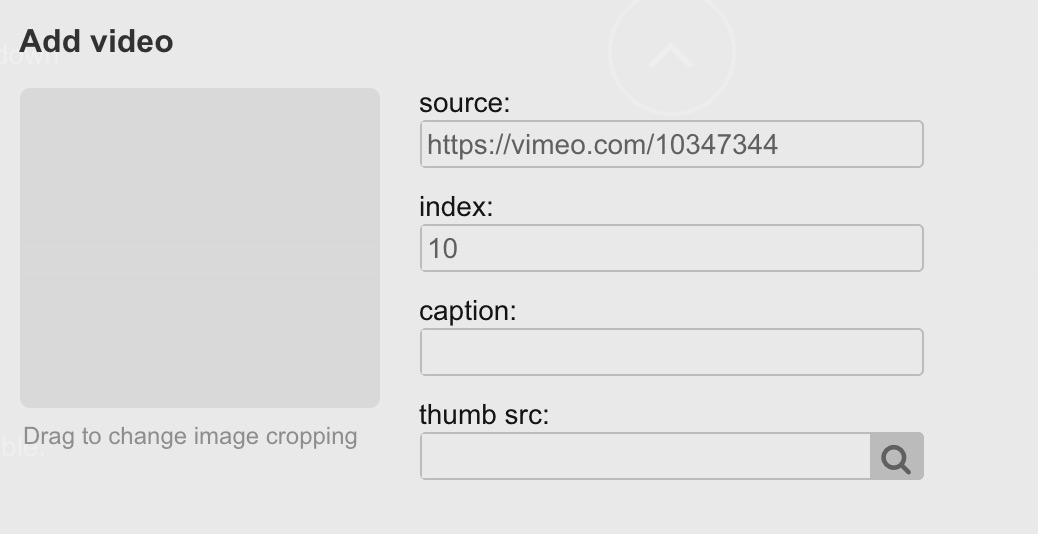
What’s really neat here, is that you can add multiple files. A lot of services will only let you add a single file for that spot. Here you can add multiple images, videos, etc. to a single event making it a very rich experience for the viewer.
What I like/dislike
I’ve been writing for a while so while there is more to explore and write about I don’t want to keep you here forever dear reader. There is a lot to like here. It is robust, flexible easy to navigate through. I really like the different views an editor has. Rather than just scroll, scroll and scroll some more looking for an event I have the ability to quickly get in a list or pinboard view.
I also love the Options menu that floats on the right hand side of the screen. That thing does it all! Create an event, edit an event, edit the theme of the timeline, and more! With the Silver account you can actually upload a CSV file of your events to the timeline and it will just process it and put it out.
Since I was working on the free version I did not get to test that out, but I love that it is there!
I also really like the themes you can chose and the fact that you can create your own theme. The included themes are attractive and different enough from each other to make them interesting and me wanting to try them out. After all, the timeline is designed for others to view.
There are some areas that I don’t like though.
The price.
For a “pro” account it is just too expensive. If I was buying this for my school, it would be hard to justify the $10/month/user for the Bronze level. The silver version is $29.50/month/user which is bonkers to think anyone would want that unless they were looking to embed this into a professional website somewhere.
There are also a lot of clicks that need to happen to create an event with an image, video or sound file. Rather than try to type it out, check out the GIF below.
I want to be clear, this is just a minor annoyance and is in no way a deal breaker.
Also, I wish there was some collaboration option here. It seems to be such an important feature in a lot of web creation tools that I was hoping to see it here, but to be fair this is a newish product and I am sure they have big plans and lots of work to do on it, so I would not be shocked if this became a reality later down the road.
Conclusion
Should you and your students use this?
YES!
This is definitely not intended for younger children (third grade or lower) but for upper elementary, middle and high school students can probably make some great timelines here. The power and flexibility of this timeline can be suitable for multiple people at various different technical levels. They can make it as simple or as complicated as they want and that is always a good characteristic of an online service. If you’d like to get to started yourself head over to:
https://www.chronoflotimeline.com/ and sign up for free.
They have even made a quick start video.
Source: IT Babble Blog and Podcast
You must be logged in to post a comment.