Google Forms – Choice Removal and Choice Eliminator 2 Add-ons
I saw these both featured on freetech4teachers.com and thought I would try them out. Richard Byrne has a quick description and a handy video on how they work which is nice. You can view that video with this link.
These are both add-ons for Google Forms. They are not stand alone form makers, you have to add and then enable the add-on to make these work and I’ll walk you through and let you know how well they work (or don’t). I figured since the Form Ranger (part 1 & part 2) is a bit involved, then I would check to see if these simpler add-ons work just as well.
Choice Removal

This add-on will remove an option once it has been selected. There is no way to configure it to remove after a certain number has been selected. It is always set to one.
The first thing you need to do is create a Google Form. There are a lot of ways to do this which I won’t get into here and the process is usually pretty easy. Here is what mine looks like:
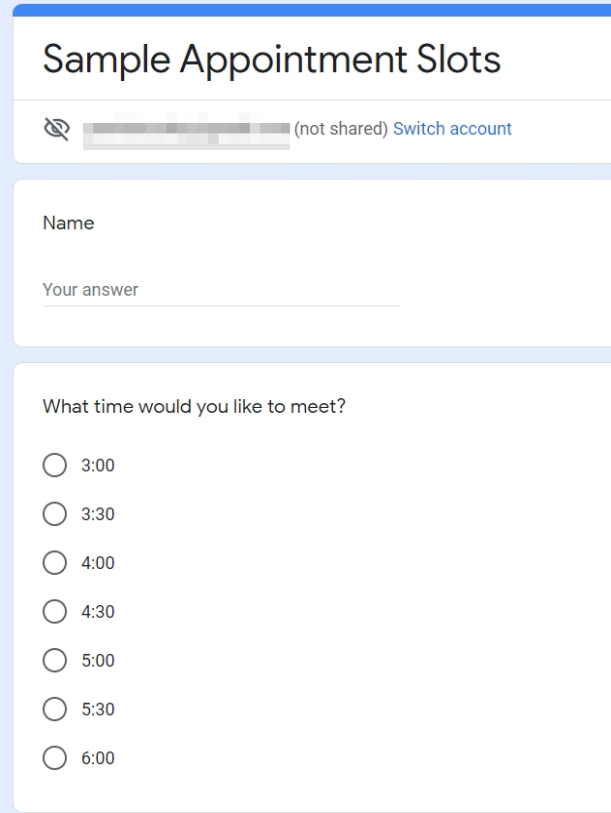
This is super bare bones and obviously, this will only work with Multiple Choice questions (it might work with a drop down, or checkboxes but I didn’t take the time to explore that).
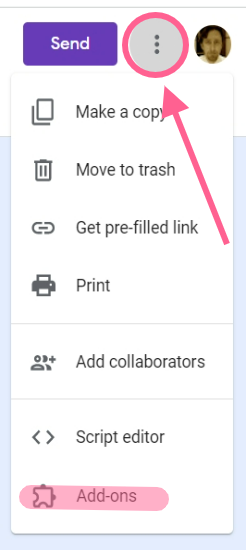
Now I will get the add-on. To do this click on the three dots that are next to your icon, then select Add-ons from the menu.
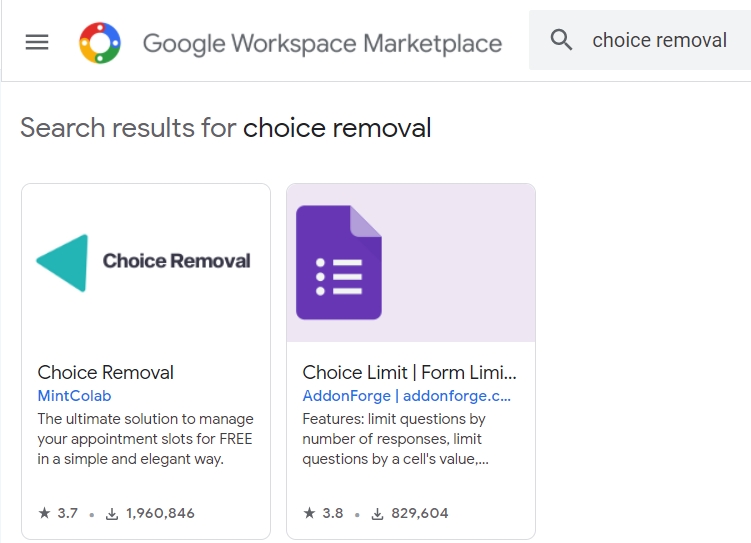
A new window will appear – search for Choice Eliminator. Then click on it and go through the install process. It will ask you for permission to use this add-on and then you can go back to your form.
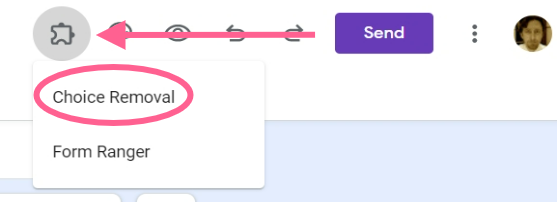
Now when you are back on your form, click on the puzzle piece near the top right hand side of the screen and select Choice Removal from the menu.
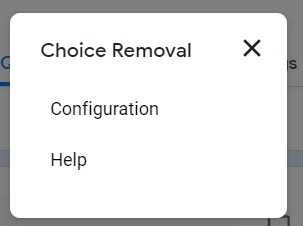
A tiny little box will appear, click on Configuration to get going.
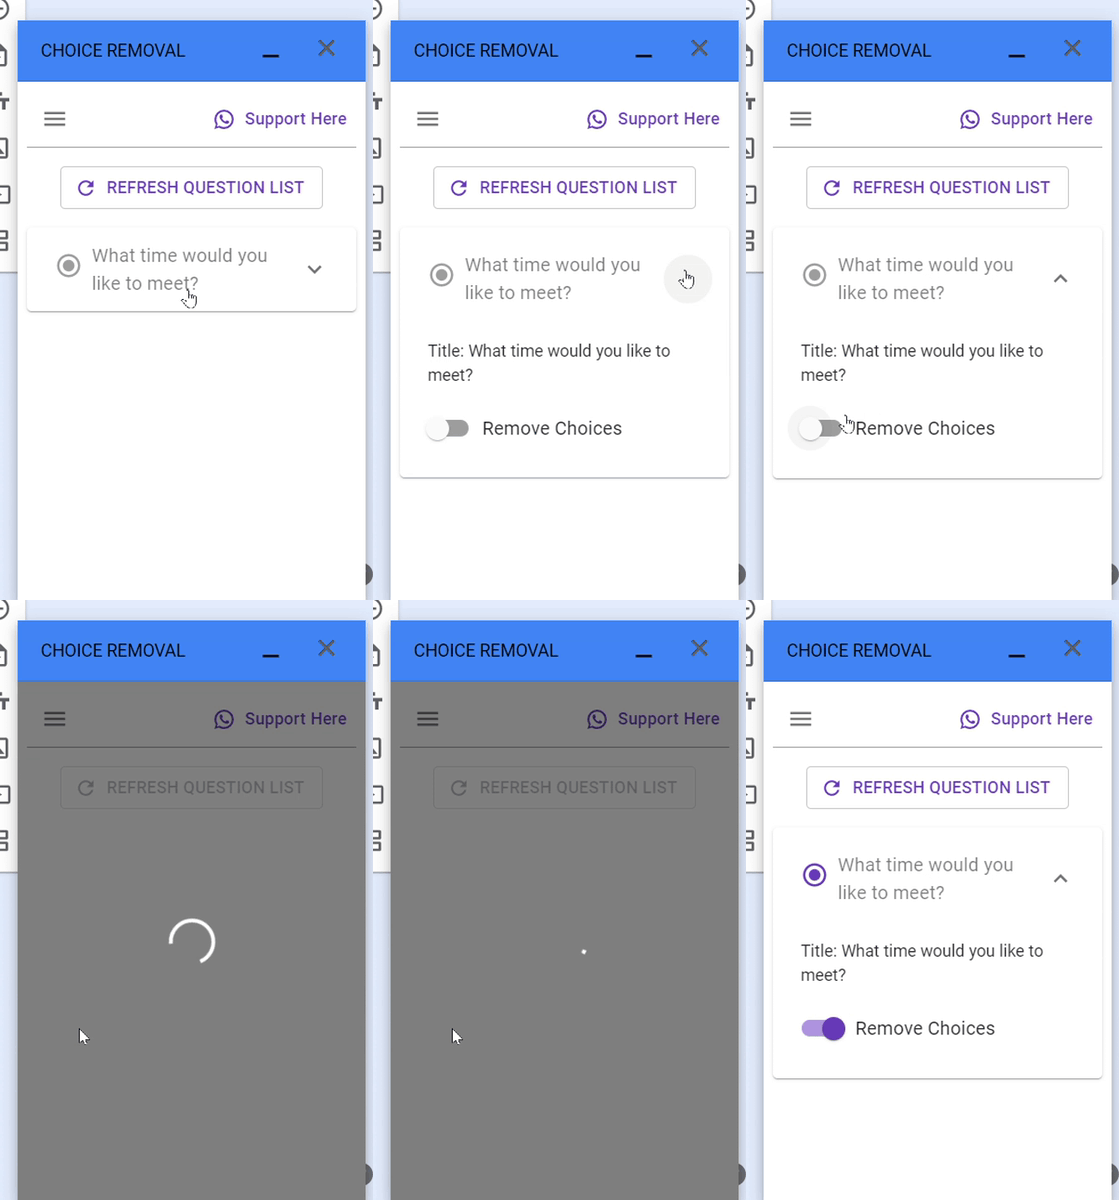
When you do this a configuration pane will appear on the right side of the screen. Now, before it starts to work you need to click the little arrow next to the question and then turn on the Remove Choices feature.
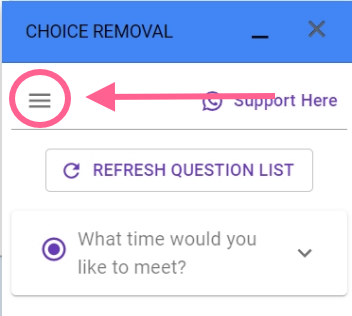
Now it is nearly ready to go. The last option you may have is to have placeholder text when all of the options have been taken. To get to this click on the three-line menu and select Settings.
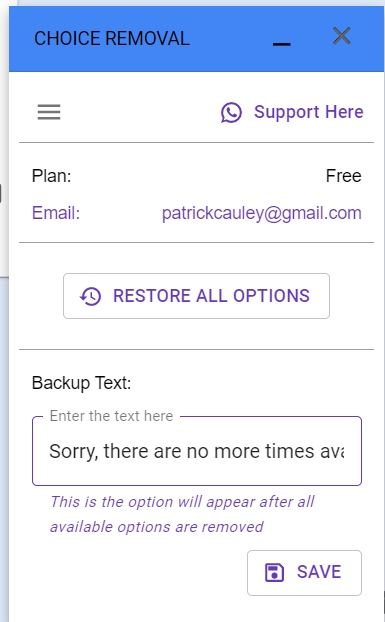
Type in whatever text you would like and then be sure to hit the Save button.
When testing, I was able to have more than one person select the same time. It happened when two people submitted the form at nearly the same time. It is rare, but I was able to do it. If I waited 15 seconds or longer and then tried to pick the same time, I got this error message:
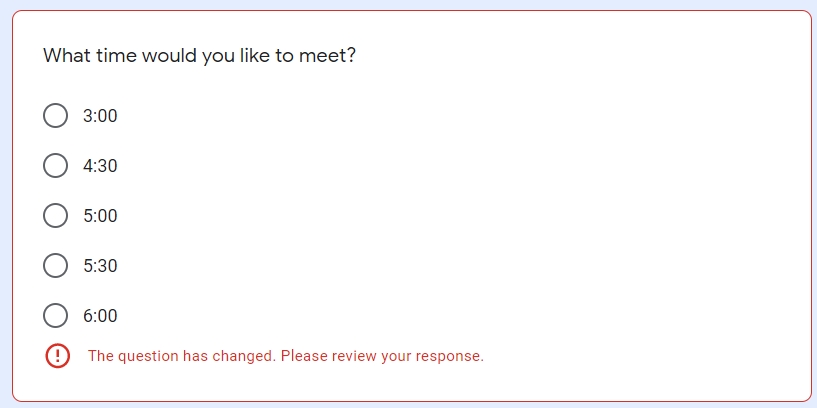
OK – this worked pretty well. Does it work as well as Form Ranger? Well, if you want to limit only one choice and you’re not expecting a huge onslaught of submissions right away, then yes. Yes, this works fine.
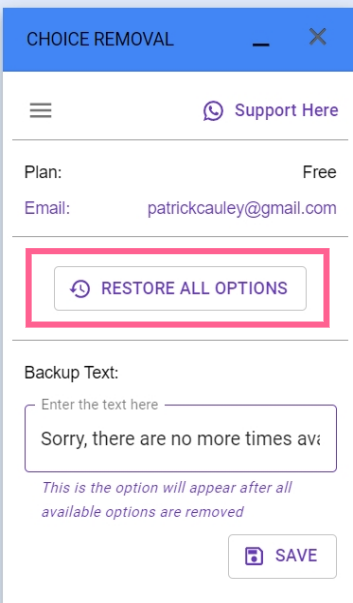
If you need to reset the form, you can do it in the add-on settings. Click RESTORE ALL OPTIONS.
Choice Eliminator 2

This was the other option Richard selected. This one is a little different in that you can set limits. Much like Form Ranger, you can set limits with this add-on. Form Ranger is a bit involved and takes a little bit of time to set up, so can this work just as well? No – the short answer is no, but that may not be a deal breaker for some. Let’s take a look.
To get started, make your Google Form and then install the add-on (the exact same way as above).
Once it is installed, you will activate the Add-on by clicking the puzzle piece and selecting it (just like before).
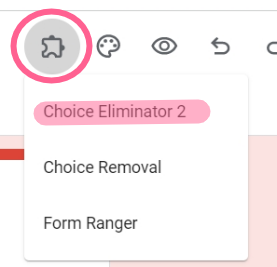
Again, a little window will appear and you will need to click on Configure to get started.
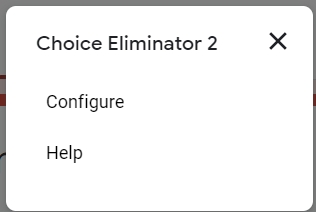
Again, a configuration panel will appear on the right hand side, but there will be a “Note form the author” (that is a direct quote, please see the screenshot below.
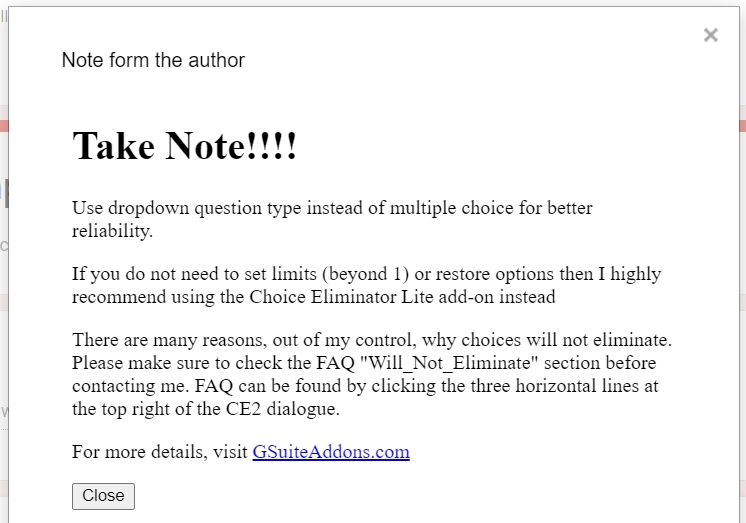
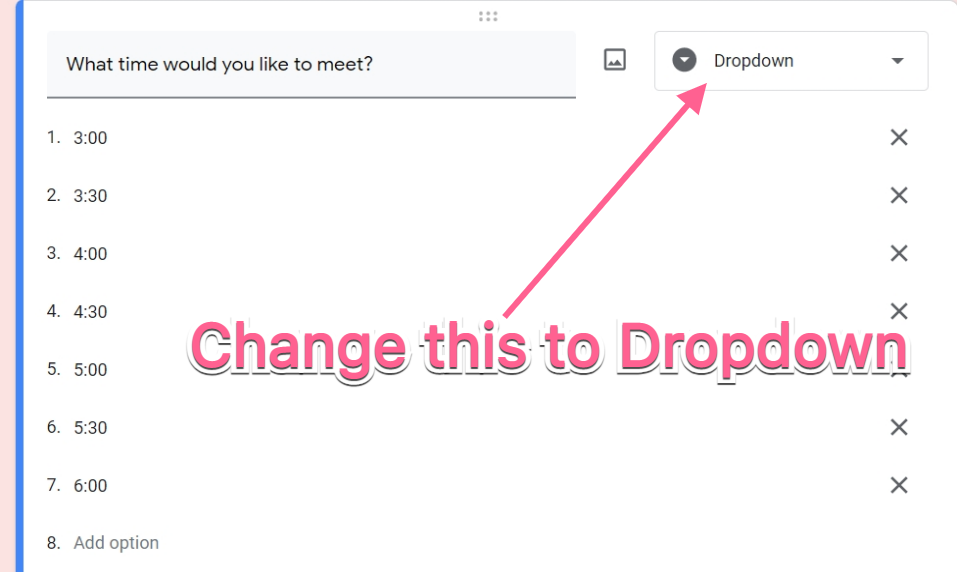
OK – so I need to change my multiple choice question to a drop down – got it. I don’t have to retype it, I just change the question type and this is what it looks like now.
Now that is ready, let’s get into the settings from the configuration panel on the right hand side. It will probably be populated with From Responses 1 – leave that alone, then click the arrow next to the question that has the choices you would like to limit and click the box Limit Choices. It will think for a little bit.
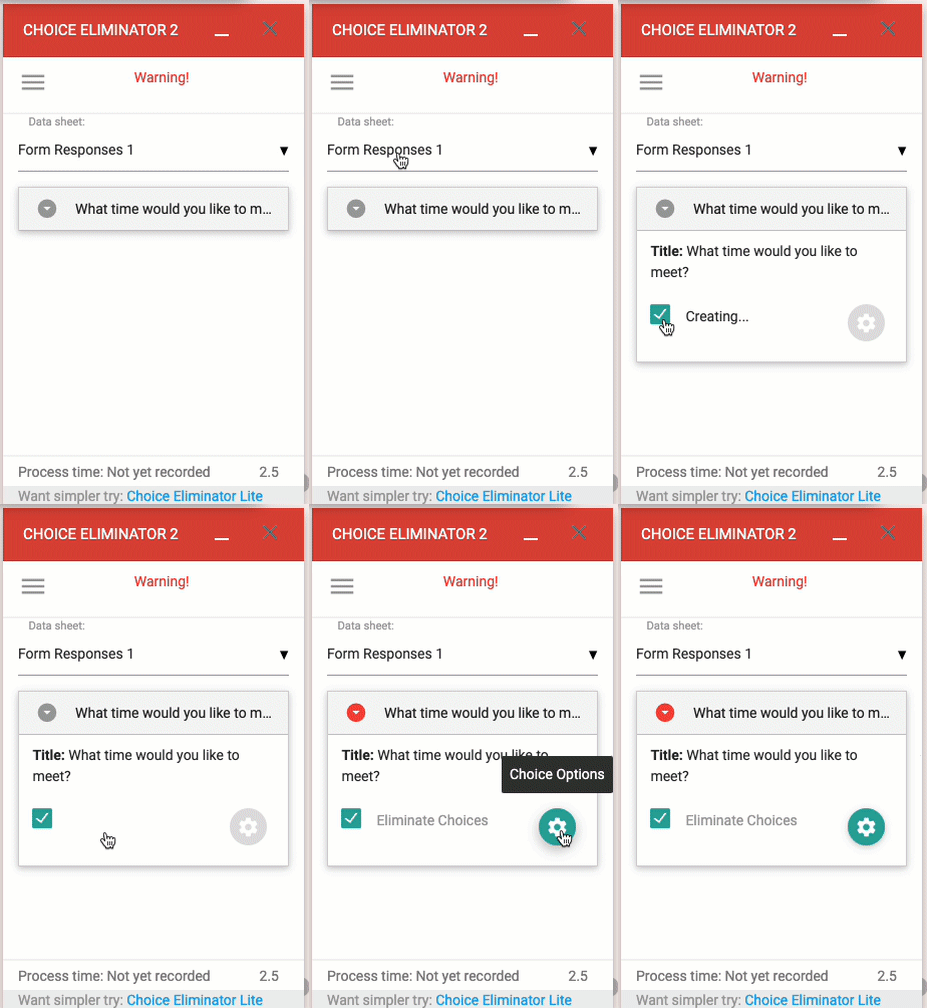
Once it is done “Creating” go ahead and click the gear icon. When you do that you will see all the choices for that question and you can add limits to each one.
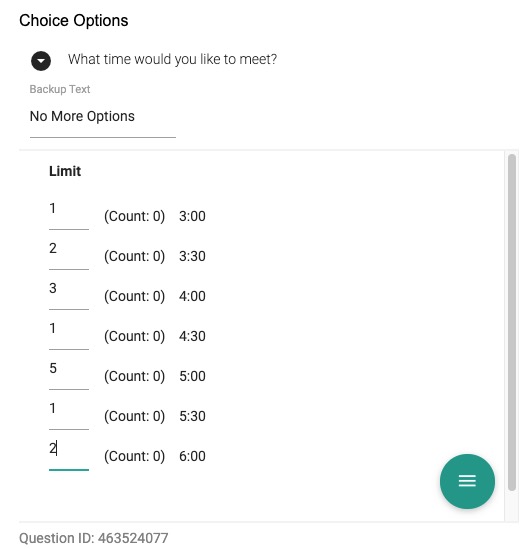
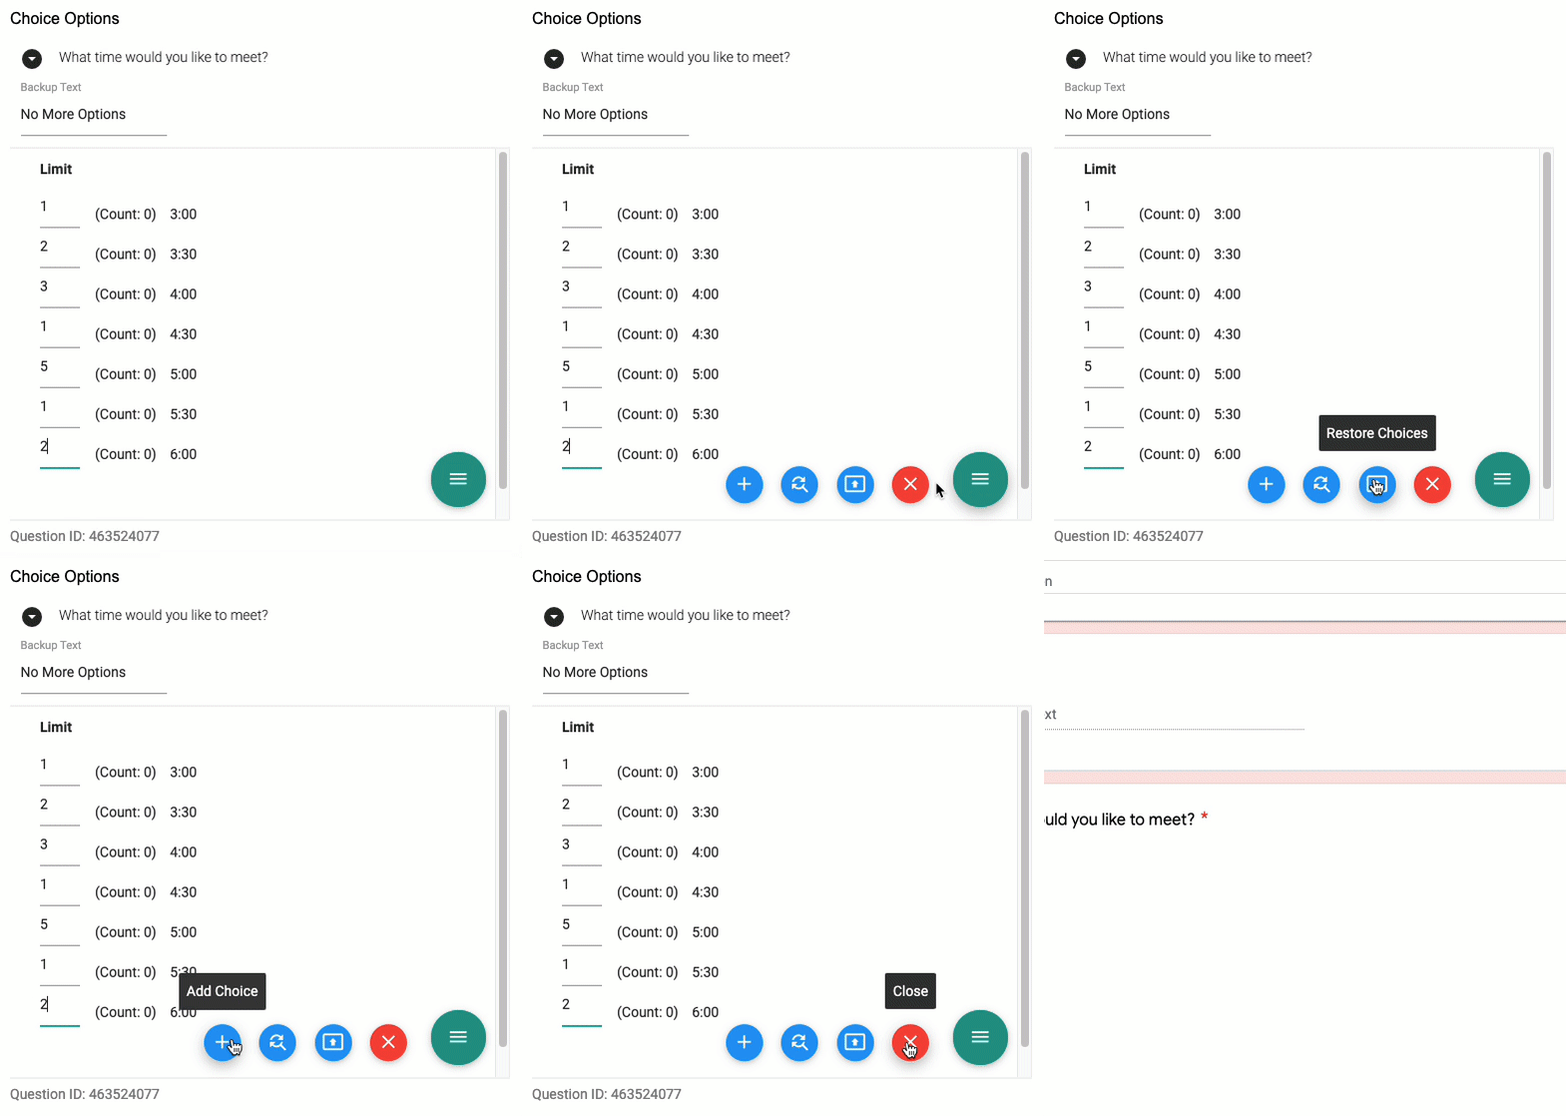
OK – lets start testing. Like before, I opened up the form in multiple browsers and tried to break the form. What I wanted to see is will it strictly enforce the limits like Form Ranger. The conclusion is that it is not too bad.
If someone picks the last available choice for a time and another person has the form open at the same time, they can obviously see the time. If there has been some time (5-10 seconds) between the first person hitting the submit button and the other person, they will receive this error.
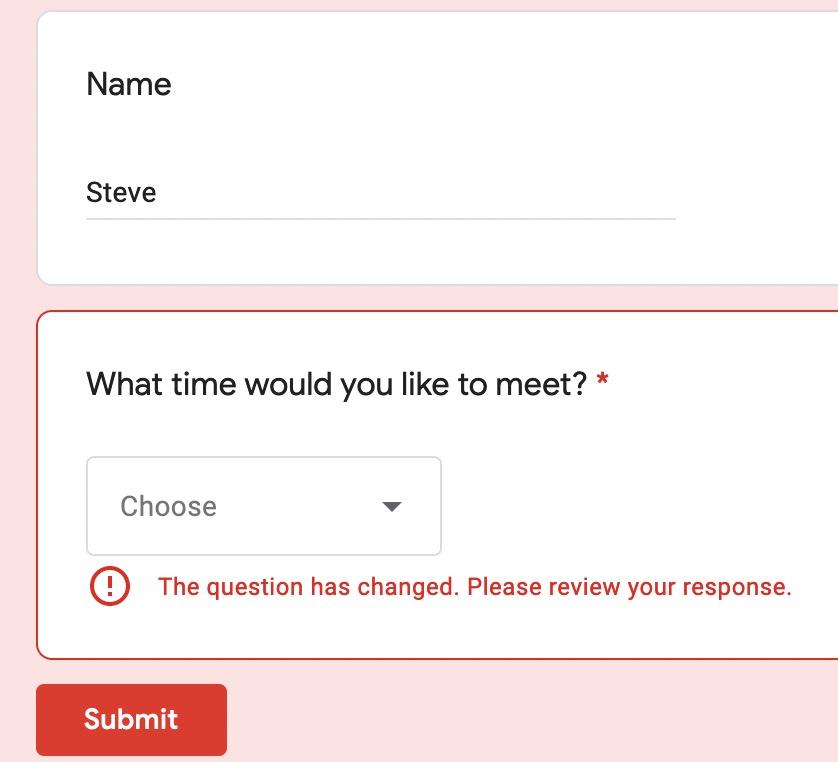
Not too bad. I was able to consistently get it to break, but I had to be very fast. I think the drop down menu causes a slight delay in a person making the choice giving the form some time to update to see what is available or not.
Conclusion
I didn’t have a lot of hope for these two, but they’re not too bad. Again, I wouldn’t use this for parent/teacher conferences or setting up a sign up sheet for After School Activities where limits really mean something, but if you’re looking for an easy way to set up some office hours and want students to set up their appointments ahead of time – this could work.
Source: IT Babble Blog and Podcast
You must be logged in to post a comment.