Google Forms – Choice Eliminator Lite Add on

Welp that was quick. Not too long ago I wrote about the Choice Eliminator 2 add on for Google Forms. This Add on allows you to put limits on how many times a choice can be made and then it will eliminate that choice from the form. Think about people signing up for appointments, you only want one person at a time – this (in theory) could achieve that.
The bad news is that Choice Eliminator 2 is no longer available 
I am not sure the reason and the developers website doesn’t really have any info about it as well. My thought is that Choice Eliminator 2 has been replaced with Choice Eliminator Lite (also made by the same developer). So I thought I’d take a quick look on how that works and whether you can count on it.
Installing the Add-on
This is pretty easy. First, open up a new Google Form (this only works in Google Form, not Docs, Sheets or Gmail). In the top right hand corner you will three dots next to your account icon, click that. A drop down menu will appear and you select Add-ons.

A new window will appear and form here you will srarch for Choice Eliminator Lite. When it comes up click on it.
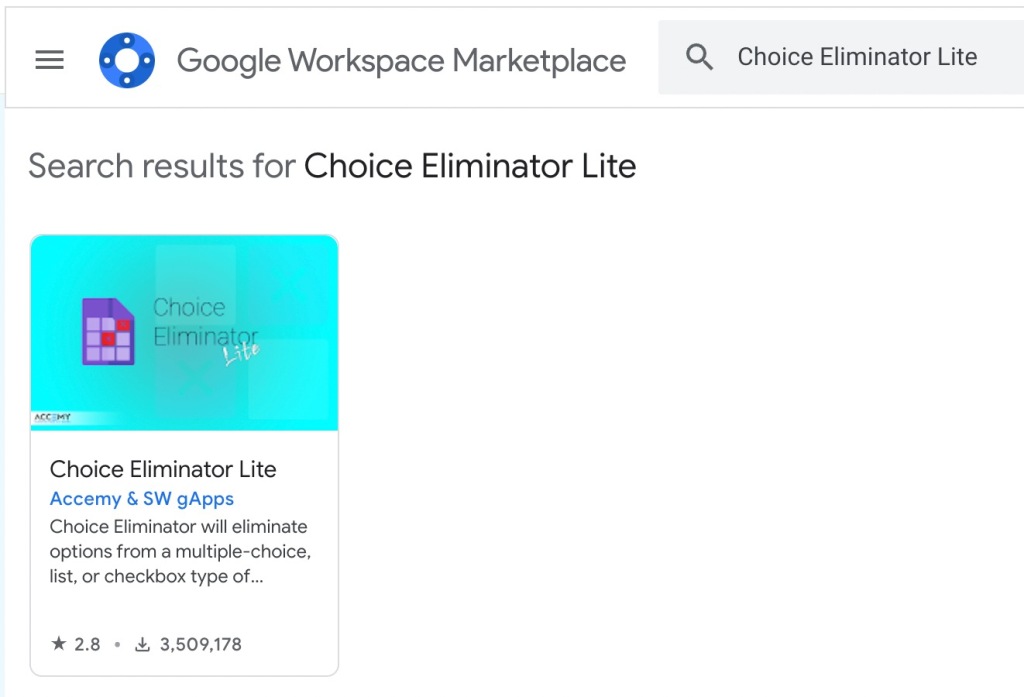
After you click on it, you can read its description and scroll through its images and more. Most important of all you can click the Install button and this will make the Add-on available to all of your Google Forms. Don’t worry though, it is not active until you start using it with specific forms, so it is not going to mess up anything you’ve already made.

When you install it the first time, it will ask for permission to do some actions. Go ahead and approve those and now you are ready to start using it.
Using Choice Eliminator Lite
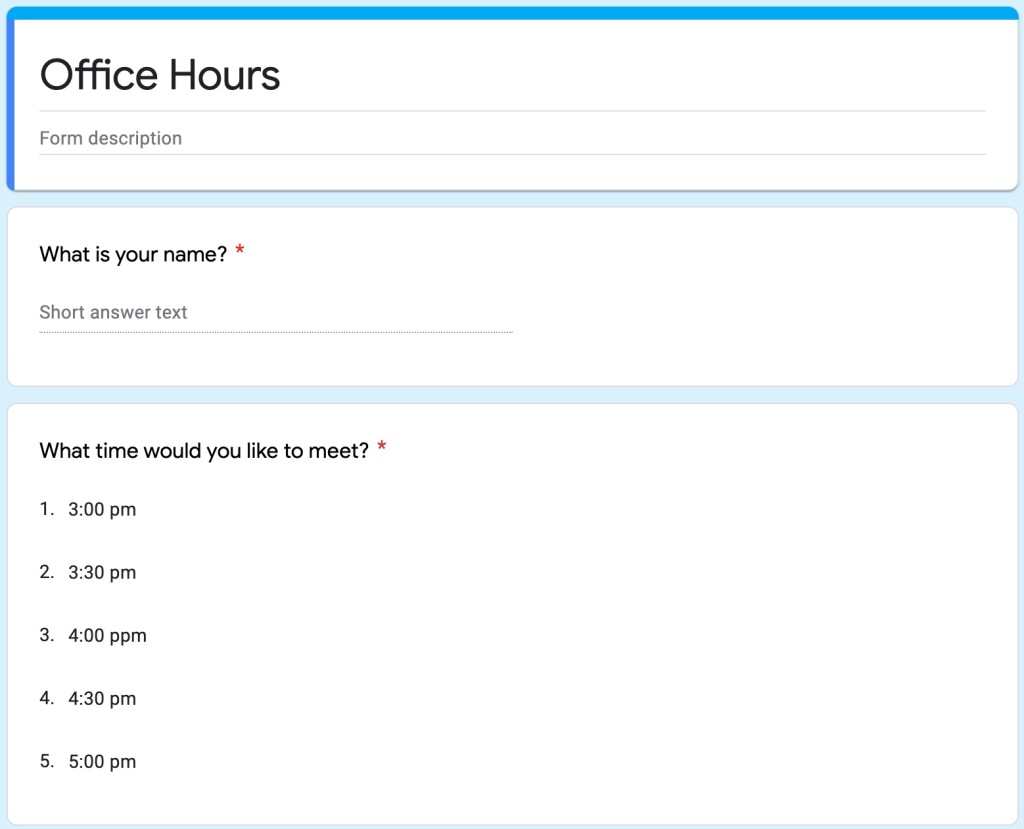
Before you start using Choice Eliminator Lite, go ahead and create your form. Here is a sample form I quickly threw together.
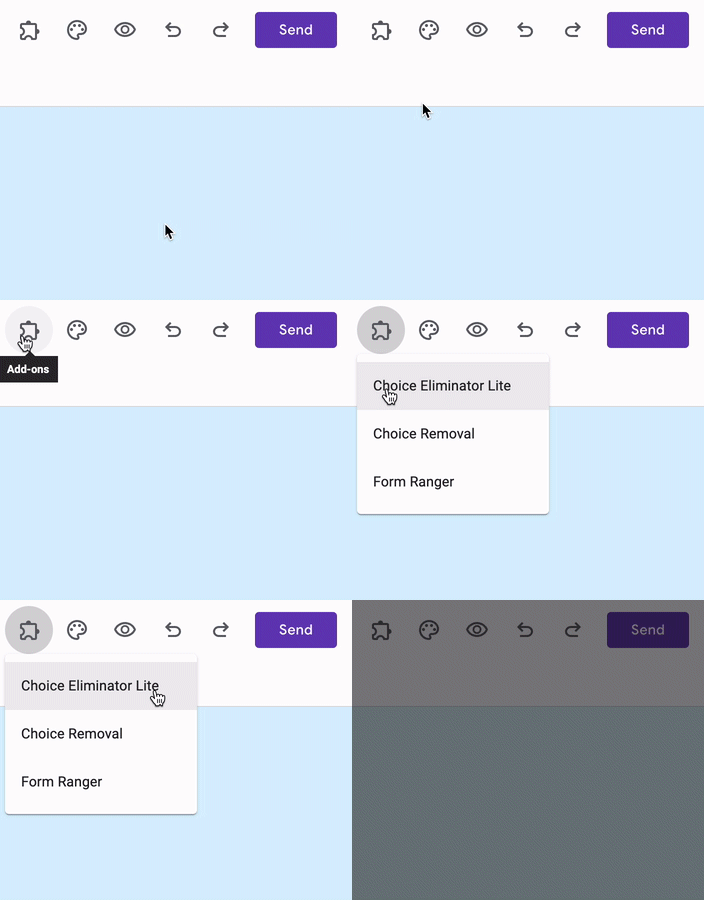
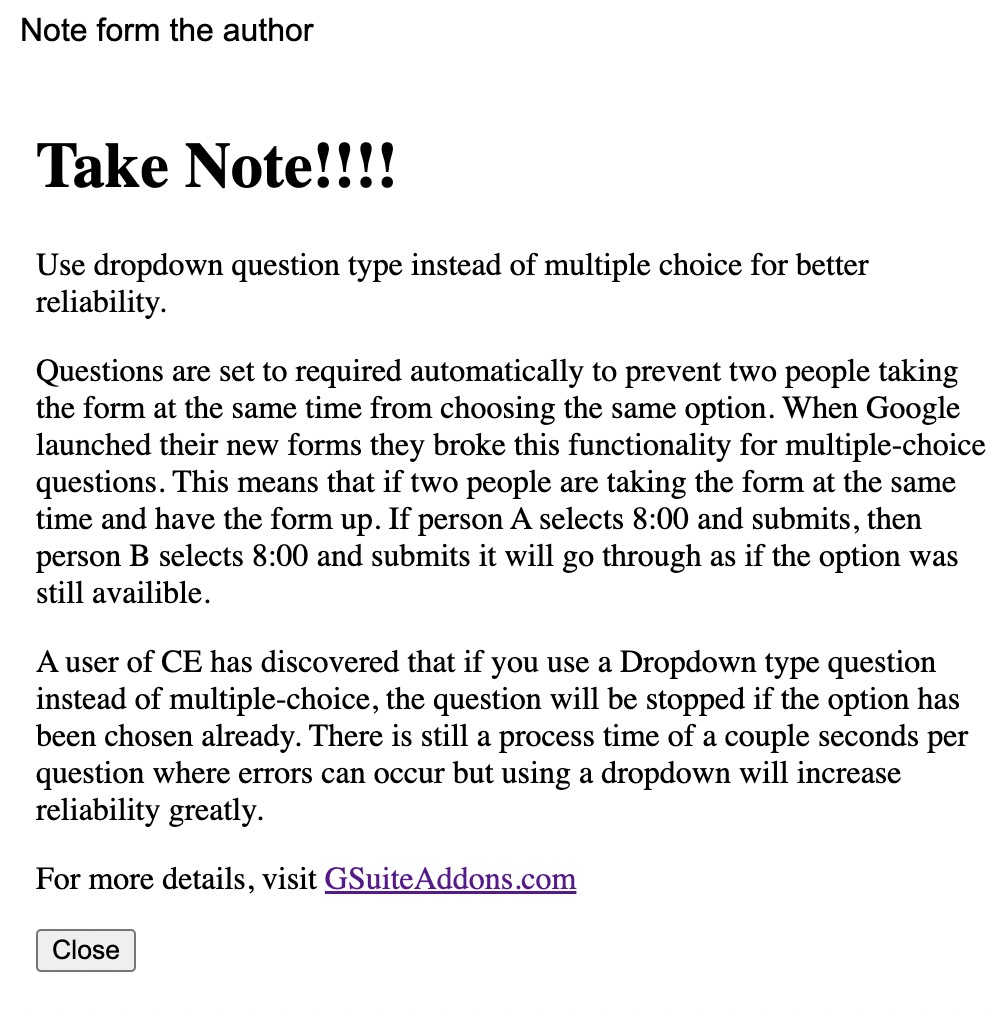
Just like Choice Eliminator 2 you will get a Take Note!!! box that pops up. This basically tells you to use drop down menus instead of Multiple Choice questions. More on that later.
You have very limited options here. You can either till it to Eliminate Choices or not. I imagine if one choice is selected it will disappear from the form. So, there is no way to assign a limit to each choice, for example if you wanted to allow three choices for my 4:00 meeting, then this Add-on will not work for you.
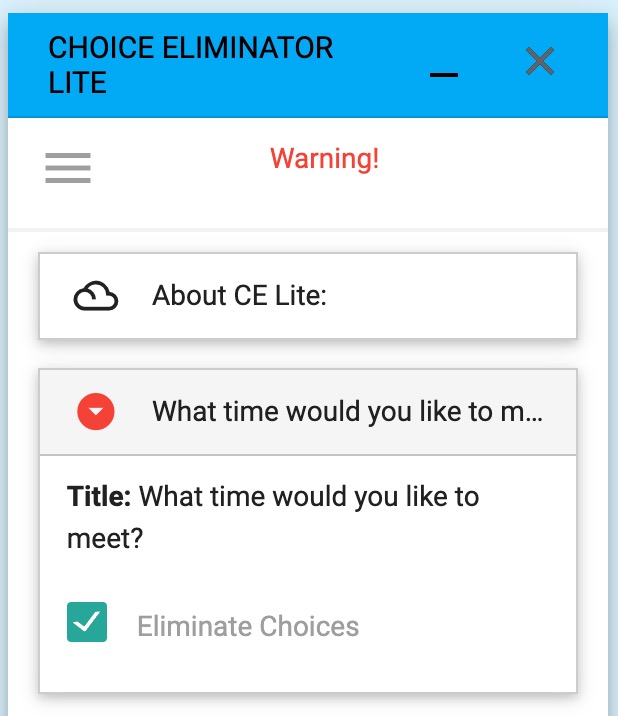
OK – now that is done, let’s test it out.
Always, always test
The heading says it all. Don’t just trust it is set up and working, always test it out before opening it up to the public.
To test it out I had it loaded the form link in a Chrome browser and then another in Microsoft Edge and finally another in Firefox. I wanted to test how long it would take to remove an option.
The good news is that it is pretty quick to process and remove the option. It only took a few seconds. Even if the someone took a time and another person picked that time, it would return an error for the second person and ask them to pick another time.
On the other hand, if they made the same choice within a second or two, then it is a good chance that it would allow both of those answers through. The only service I’ve ever seen that reliable limits is using the Form Ranger Add-On but that is not as easy to set up.
Conclusion
If you used to use Choice Eliminator 2 because you could allow certain quantities for specific questions, this cannot do that. This will let someone make one choice and that is it. For that purpose it is fine, it works well enough. For something more robust that lets you put different limits on different questions, then you need to use Form Ranger. I made two posts about it (Part 1 and Part 2). It does take a little bit to set up but it will absolutely work.
Source: IT Babble Blog and Podcast
You must be logged in to post a comment.